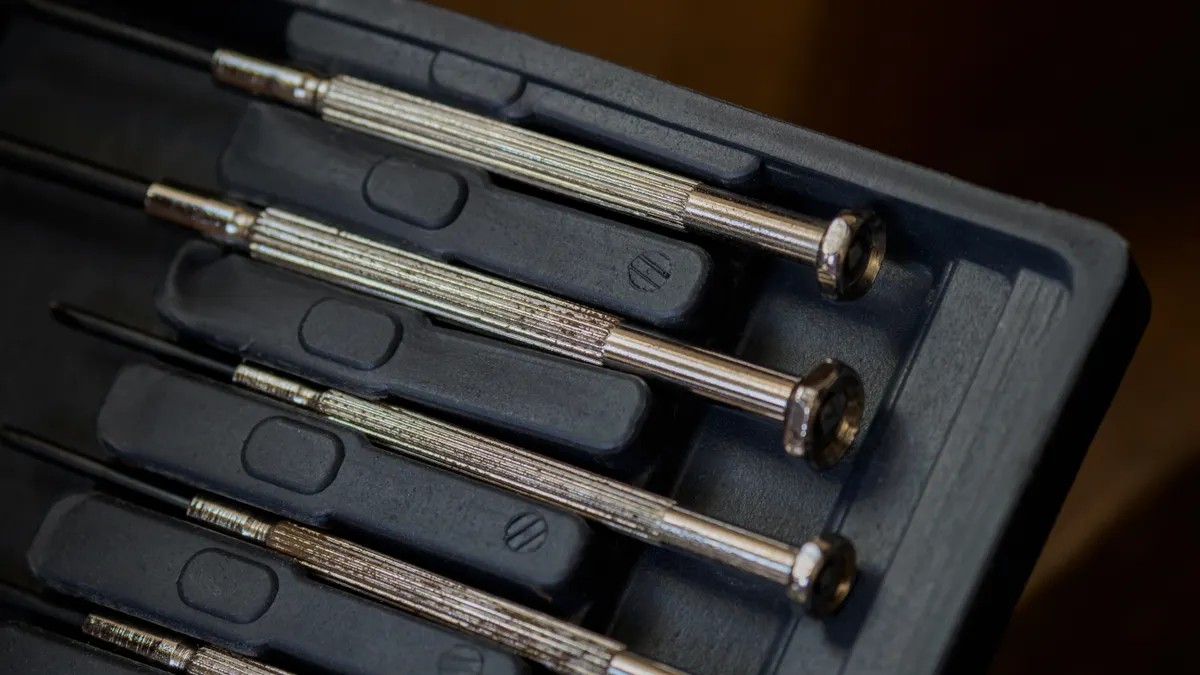
Last updated: October 29, 2026
Key Takeaways
- A basic laptop repair tool set should open the machine, track tiny fasteners, and disconnect parts without bending plastic tabs.
- Everything else can wait until the repair gets more advanced.
- The most common laptop screwdriver sizes are Phillips #0 and #00, Torx T5 and T6, and sometimes a small flat bit for older hardware.
- An ESD wrist strap is the default choice, and a clean, dry, non-carpeted workspace is the next best thing if a strap is not available.
A laptop repair tool set for What tools do I need to fix a laptop? starts with a precision screwdriver, a spudger, a plastic pick, tweezers, an ESD wrist strap, and a magnetic tray. Those six tools handle most beginner fixes, from opening the case to removing a loose connector without stripping screws or zapping a board.
The laptop repair tool set that covers most beginner jobs
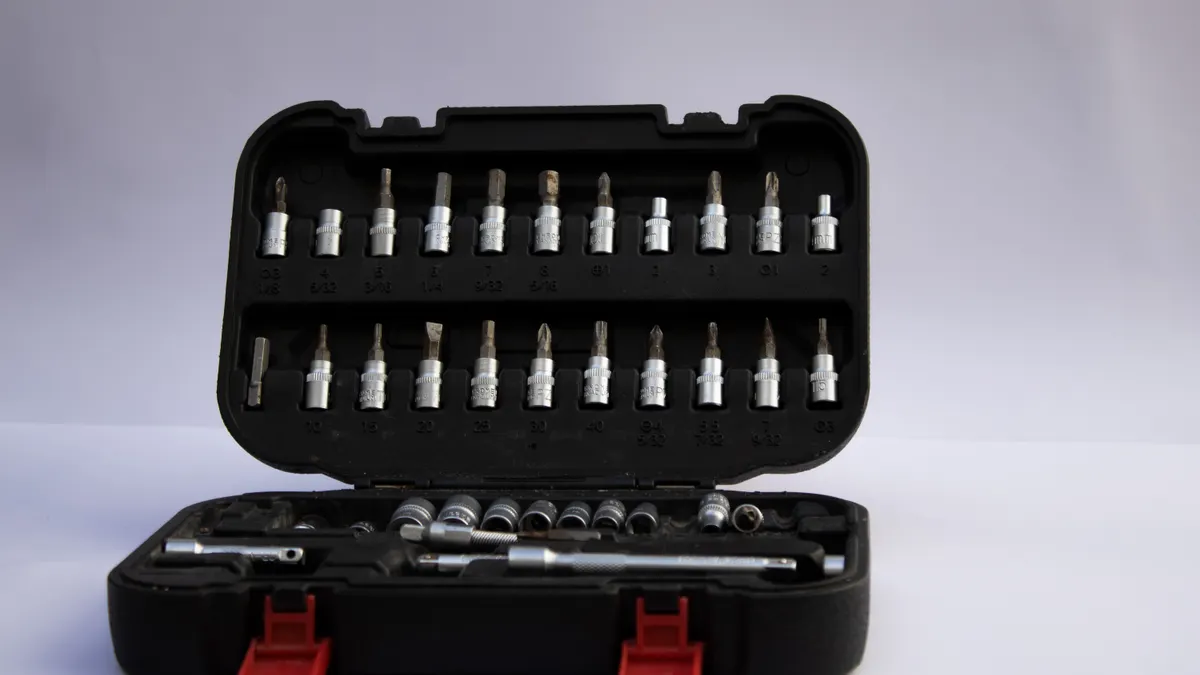
A basic laptop repair tool set for What tools do I need to fix a laptop? should let you open the machine, keep track of tiny fasteners, and disconnect parts without bending plastic tabs. For most people, that means one small screwdriver handle with interchangeable bits, a spudger, a plastic opening pick, fine tweezers, an ESD wrist strap, and a magnetic tray or parts organizer.
The screwdriver matters most because laptop fasteners are small and varied. Common bit types include Phillips sizes like #0 and #00, Torx bits such as T5 and T6, and occasionally flat bits on older machines. A generic hardware-store screwdriver set often misses these sizes or has tips that are too loose. A precision set fits the screw head more cleanly, which lowers the chance of cam-out, the ugly moment when the bit slips and chews the screw.
The spudger and plastic pick do the non-metal work, and they fit naturally into What tools do I need to fix a laptop?. A spudger helps pry up clips, lift ribbon-cable locks, and separate stuck seams without gouging the shell. A plastic pick is useful when a bottom cover is held by a line of clips around the edge. Metal tools can work, but they are easier to overdo. On a thin magnesium or plastic case, one wrong twist can leave a permanent scar.
Tweezers sound optional until a screw falls into a hinge pocket or a tiny M.2 screw needs to be started by hand. A pair with fine, straight tips is enough for most laptop work. Curved tips can help in tight spaces, but they are not required on day one.
An ESD wrist strap is the anti-static piece. It is not there to make the repair easier; it is there to reduce the chance of a static discharge into the motherboard or memory. The strap should be worn when touching exposed electronics, and it should clip to a grounded metal point. If the strap is missing, at least work on a non-carpeted surface and keep the machine unplugged, but that is a weaker fallback.
A magnetic tray keeps screws sorted by location. A bottom-cover screw is not the same as a hinge screw, even if both look similar at a glance. A tray with compartments, a muffin tin, or labeled cups can save a lot of trouble during reassembly. If a screw length is mixed up, it can pierce a palm rest or press into a board.
The hub page on laptop repair tools can hold the broader buying and comparison guidance, and this laptop repair tools guide is the natural place to start. For broader repair planning, see how to repair a laptop and laptop screw sizes. This page is the practical list: what each tool does and what you can skip.
Which tools are essential, and which ones can wait?
The essential tools for What tools do I need to fix a laptop? are the ones that prevent damage during opening and reassembly: a precision screwdriver, a spudger, a plastic pick, tweezers, an ESD wrist strap, and some kind of tray for screws. Everything else is optional until the repair gets more advanced.
A flashlight is a good example of a useful extra. It is not part of the core kit, but a small light makes ribbon latches and hidden screws easier to see. A headlamp is even better if you are working at a desk with overhead shadows. A 3x or 5x loupe can help on small connectors, but most beginners do fine without magnification.
A magnetic screwdriver is helpful, but it is not the same as a magnetic tray. The magnetic tip helps hold a screw at the end of the bit when the screw is buried near a fan shroud or hinge. The tray handles storage. If the screwdriver is weakly magnetic, that is still fine for most laptop work. If it is strongly magnetic, keep it away from loose storage media and use common sense around the board.
A suction cup sometimes appears in repair kits, but it is mainly useful for glass-covered parts on certain devices, not for a standard clamshell laptop. A heat gun or hair dryer can matter for adhesive-heavy repairs, but that is outside the beginner setup and easy to misuse. Too much heat can warp plastics or soften display adhesive in the wrong place.
An ifixit-style opening tool set, while not mandatory, is a common reference point because it usually combines the right shapes in one package. That said, the label matters less than the tool geometry. A badly shaped pry tool does more harm than a plain plastic pick used carefully.
This is the point where many people buy too much. A full bench kit with soldering gear, microscope, ESD mat, and specialty jigs is overkill if the job is “replace RAM,” “reseat a cable,” or “swap a fan.” Start with the small kit, then add tools only when a repair actually needs them.
What screwdriver sizes are common in laptops?
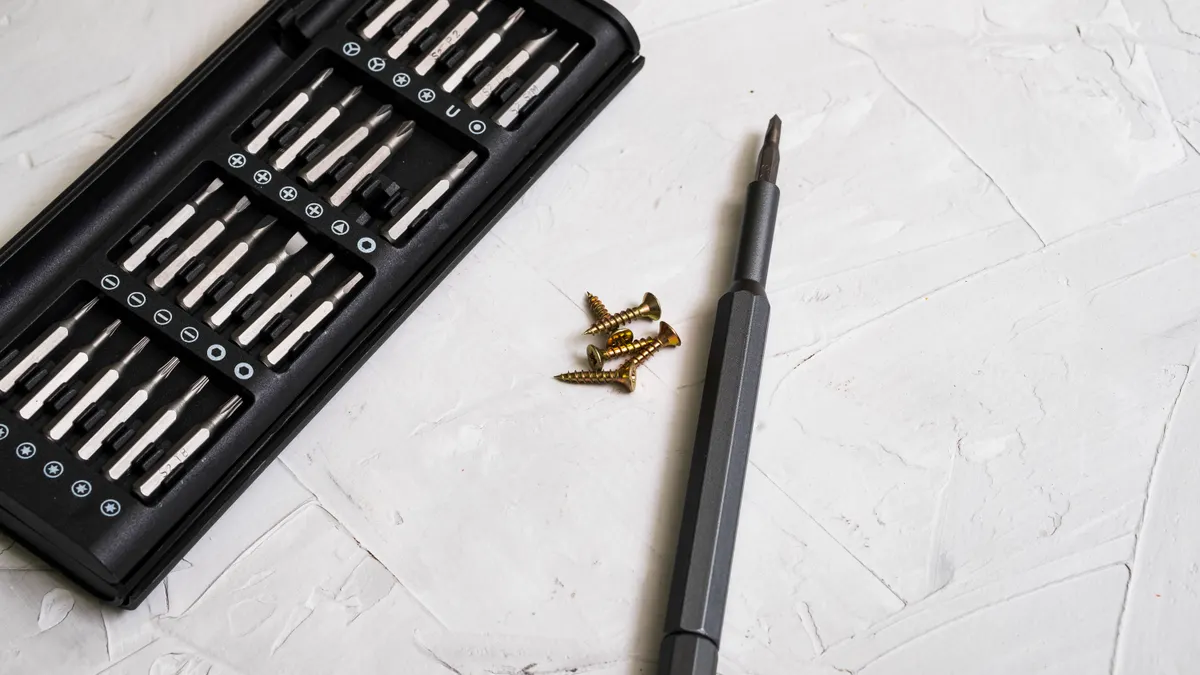
The most common laptop screwdriver sizes are Phillips #0 and #00, Torx T5 and T6, and occasionally a small flat bit for older hardware. Some machines use pentalobe or tri-point fasteners in limited spots, but those are less universal on laptops than on phones.
The trick is not just owning the size; it is matching the tip to the screw head. A #00 bit that rocks in a Phillips recess will round the screw faster than a well-fitting #0. Torx bits are usually more forgiving because the star shape grips better, but only when the bit is the right size. A T5 bit forced into a T6 screw can feel close and still be wrong.
A practical beginner kit usually includes at least these bits:
- Phillips #0
- Phillips #00
- Torx T5
- Torx T6
- Flat 1.5 mm or similar small flat bit
- A thin pry bit or spudger accessory if the kit includes one
Not every laptop uses all of them, and that is the point. A modern ultraportable often uses one outer size for the bottom cover and another for internal shields. A thicker business laptop may use a mix of Phillips and Torx. Older consumer models sometimes use only Phillips screws, which makes life easier.
One habit saves more screws than any branded tool: test fit before turning hard. Set the bit straight into the head, press down lightly, and turn slowly for the first quarter-turn. If the bit lifts or slips, stop and switch sizes. A stripped screw can turn a ten-minute opening job into a drilling problem.
A screwdriver with a spinning cap is worth having because it lets the fingers control tiny turns without wobble. A long shaft can help in recessed wells, but too much length can reduce control in tight spaces. For laptop repair, control usually beats torque.
How do I use these tools without damaging the laptop?
Use the screwdriver for fasteners, the spudger for latches and cables, the plastic pick for case seams, tweezers for tiny parts, and the ESD wrist strap before you touch exposed boards. That is the whole sequence for most beginner repairs.
- Power the laptop down fully, unplug the charger, and hold the power button for about 10 seconds to discharge residual power. The result should be a completely dark machine with no standby lights.
- Put on the ESD wrist strap and clip it to a grounded metal point on your work surface or chassis. The goal is to reduce static risk before any internal parts are exposed.
- Sort tools and place the magnetic tray beside the laptop. Keep one compartment for bottom-cover screws and another for internal screws so the lengths do not mix.
- Use the correct precision screwdriver to remove visible screws, then move them to the tray in the same order you took them out. The cover should begin to loosen evenly, not bend.
- Insert a plastic pick or spudger into the seam and work around the edge with short, shallow motions. A clipped cover should release with small pops rather than a long forced bend.
- Once the case opens, use tweezers or a spudger to lift cable flaps and disconnect ribbon cables by the reinforced tab or latch, not by the wire itself. The connector should separate cleanly with little resistance.
- When reassembling, seat each connector straight, then replace screws finger-tight before final snugging. The result should be an even fit with no gap or wobble.
The main rule is to stop as soon as something feels wrong. If a screw spins without backing out, it may be captive or damaged. If a cover refuses to lift, a hidden screw is probably still in place. If a connector resists, it may have a lock that needs to flip up first.
This is where a spudger earns its keep. A metal blade can work for stubborn clips, but it can also slip and cut a ribbon or mar the bezel. Plastic tools are slower, yet slower is safer on the first attempt.
What anti-static handling matters, and what is overkill?
An ESD wrist strap is the right default, and a clean, dry, non-carpeted workspace is the next best thing if a strap is not available. That is enough for most home repairs without turning the desk into a lab.
Static damage is easy to underestimate because nothing looks dramatic when it happens. A board can fail later, or not fail at all, which is why people argue about how much protection is “enough.” For beginner work, the practical answer is simple: wear the strap, avoid fleece and carpet, and keep the laptop unplugged. That combination is cheap insurance.
An ESD mat is useful if the repair becomes a regular habit, but it is not required to replace a drive, reseat memory, or clean a fan. The mat helps give you a grounded, tidy area with a place to set parts. It is better than a kitchen table covered in paper towels, but the strap still does the direct protection work.
One common mistake is leaving the charger connected “just for a minute.” On many laptops, that keeps parts energized even when the machine is off. Another is touching the board after walking across carpet in socks. A third is rubbing plastic bags near the open chassis. Those habits are easy to break once you make them visible.
What is overkill? Gloves for every repair, giant anti-static kits, and obsessive grounding rituals that slow the work without changing the risk much. Bare hands are fine if they are clean and dry, and the strap is the better investment. The goal is not perfection; the goal is to avoid the avoidable mistake.
If a repair involves liquid damage, burned components, swollen cells, or a board-level fault, the tool list changes fast and the risk rises. That is where a professional shop makes more sense than a home kit. The iFixit ESD guide and the ESD Association both cover safer handling practices in more detail.
For deeper standards background, general ESD handling references from the ESD Association and IEC/TS 61340-5-1 are the kind of sources shops use when they care about formal procedures.
What should I buy first if I only want a starter kit?
Buy the smallest kit that still includes the precision screwdriver, spudger, plastic pick, tweezers, ESD wrist strap, and magnetic tray, plus the common bits for laptops: Phillips #0, Phillips #00, Torx T5, and Torx T6. That is enough to handle many basic inspections and component swaps without overbuying.
A good starter kit is about coverage, not count. Ten mediocre pry tools do less for you than one accurate screwdriver and one sturdy spudger. If a kit offers foam handle grips, bit extensions, and a case, those are pleasant extras. The real test is whether the bits fit the screw heads cleanly and the pry tools flex without snapping.
Some kits lean heavily into marketing, with dozens of bits you may never touch. That can be fine if the price is low and the quality is decent, but it often hides weak steel and sloppy fit. A tiny set with well-machined tips is usually the smarter buy than a giant box full of guesses.
This is not the right shopping plan if you only need a one-time screen swap or a very specific motherboard job. In that case, the right answer may be a narrow, purpose-built set with one or two specialty tools. It is also not the right plan if you expect to do board-level soldering; that needs a separate bench setup and more skill than a beginner kit provides.
A final practical note: keep one spare pack of the exact screw sizes you already own only if you do repeated repairs. For a single laptop, the original screws and a tidy tray are usually enough.
When should I stop and hand the job off?
Stop when the repair moves beyond opening, reseating, and basic part swaps. That is the right call if you see corrosion, a swollen pack, burned components, broken solder joints, or a connector that has torn off the board.
A basic tool kit can handle a lot, but it cannot fix every failure. If the machine will not power on after a simple reseat, or if liquid reached the motherboard, the issue may require board-level diagnosis. In that situation, the problem is not missing screwdrivers; it is the need for test gear, micro-soldering tools, and experience.
A cracked display panel or a loose hinge can also turn from a simple job into a structural repair. Hinge assemblies put stress on the shell, and a stripped insert or fractured palm rest may need replacement parts rather than more force. When a part is already broken, the next tool is often restraint, not pressure.
The right handoff point is before you tear a flex cable, snap a clip, or strip a stubborn screw beyond recovery. If you are unsure whether a connector has a latch, pause and inspect it with light and tweezers. If a screw head is already damaged, switch tactics before the bit slips again.
The best beginner mindset is modest: the toolkit is for opening, observing, and replacing obvious parts. It is not a license to pry harder every time a panel resists.
Do I need a magnetic screwdriver for laptop repair?
No, a magnetic screwdriver is helpful but not required for laptop repair. A light magnetic tip can hold tiny screws in tight spots, which makes assembly easier, but a magnetic tray or parts organizer does most of the storage work. If the screwdriver is not magnetic, tweezers can fill the gap on small fasteners.
Drafted with AI; not yet reviewed by a person.