Last updated: October 29, 2026
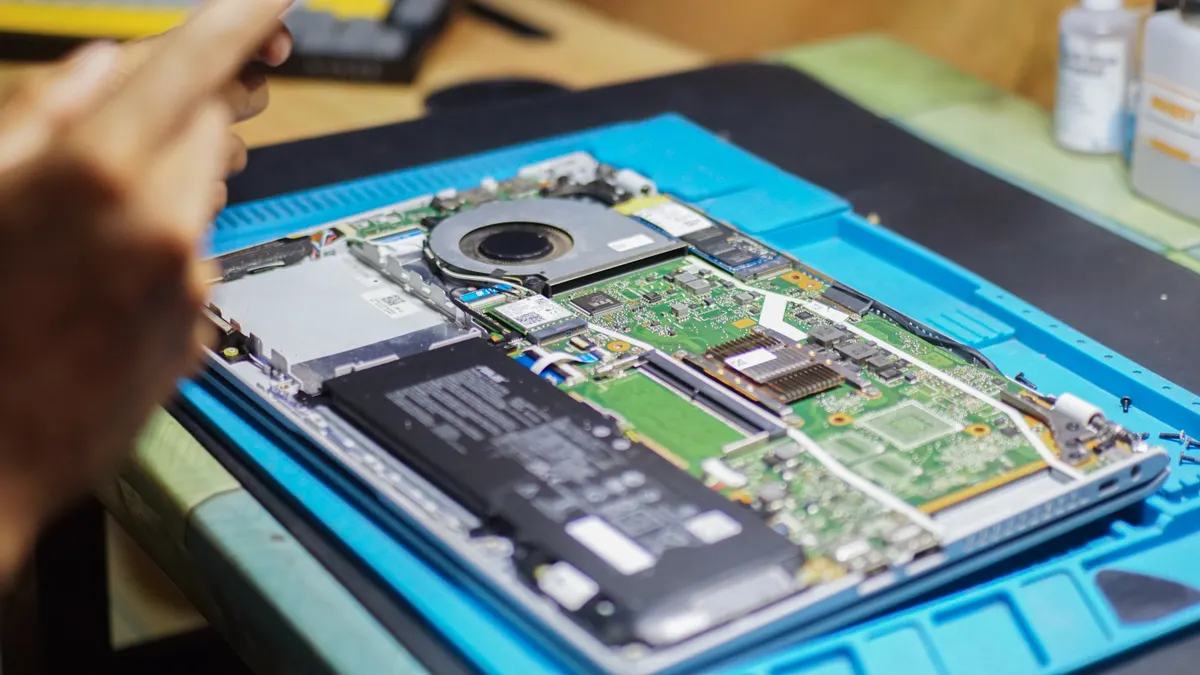
Opening a laptop chassis safely for how to open a laptop without damaging the case, clips, or motherboard means releasing the bottom cover without cracking clips, stripping screws, or tugging a ribbon cable. Quick answer: use the correct screwdriver, a plastic pry tool, and one careful pass around the seam; in practice, that usually means 2 to 3 tools and 1 slow opening sequence. Remove every fastener in the right order, pry at the designed seam, and stop the moment the cover resists in one spot.
Key takeaways
- Use the right order: screws out first, then clips, then any cables.
- A plastic pry tool is safer than a metal blade for the first gap.
- Hidden screws and short ribbon cables are the two most common ways a case gets damaged.
- If the cover stays stuck after the visible screws are out, assume there is still a screw or a latch, not that it needs more force.
- Ground yourself and keep metal tools away from exposed boards once the cover lifts.
What you need before you start
You need a precision screwdriver set, a plastic pry tool, a spudger, a small tray for screws, and a clean surface with bright light. A microfiber cloth helps keep the laptop steady, and an anti-static wrist strap is worth using if the bottom cover will come off fully. If you do not have a strap, touch a grounded metal object before handling the inside and repeat that every few minutes.
A generic screwdriver is the wrong tool here. Many laptops use Phillips, Torx, or pentalobe-style fasteners, and the wrong bit rounds the head fast. A precision screwdriver with the correct tip matters more than a large kit with extra pieces.
Before you begin, shut the laptop down completely, unplug the charger, and disconnect all accessories. If the model has an accessible removable battery, take it out before opening the chassis. If the battery is internal, do not force the cover past the point where you can safely reach the connector.
Set the laptop on a towel or rubber mat with the hinge side facing away from you. That gives you a stable edge to work from and keeps screws from rolling under the device. Keep the screws grouped in the order they came out; some laptops use 2 or 3 different lengths in the same bottom cover, and mixing them can crack the palmrest or poke a board.
If this is your first time opening a machine, this page pairs with the hub article on laptop repair tools for broader context. This guide stays focused on the opening process itself, not on tool shopping.
How to open a laptop bottom cover without cracking the clips
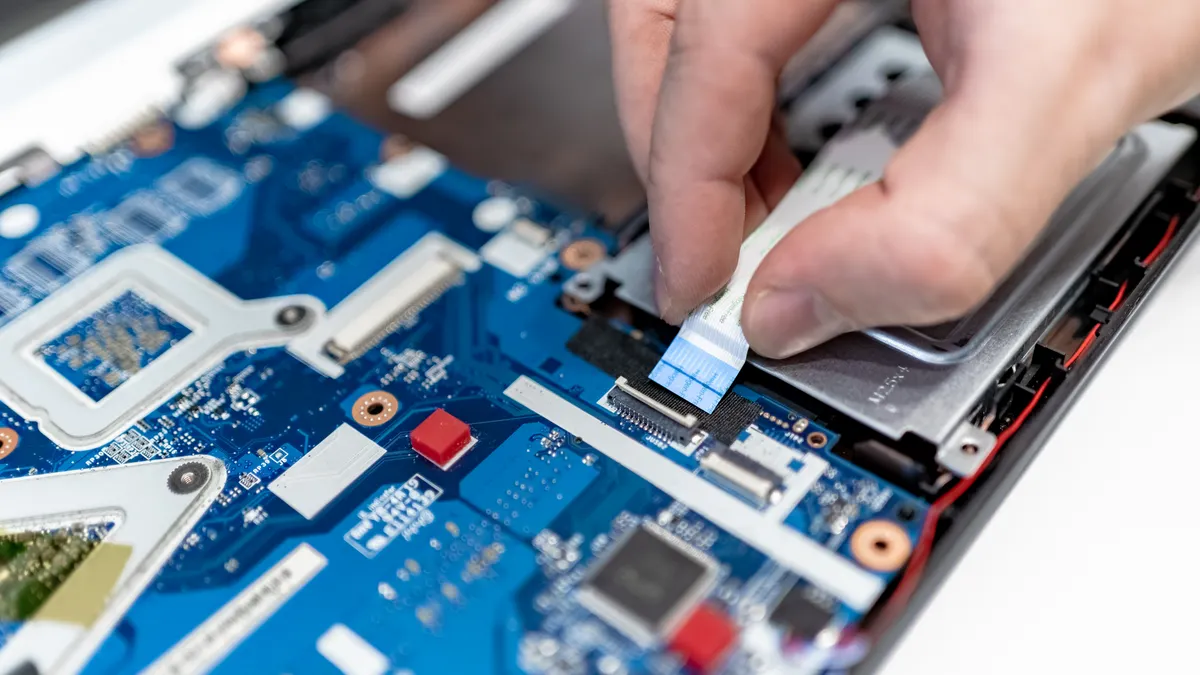
Open the laptop bottom cover by removing every screw, breaking the seal at a safe pry point, and walking a plastic pry tool around the seam until the clips release one by one. That sequence protects the case better than trying to lift a corner by hand.
-
Flip the laptop over and inspect every visible screw head.
Look for screws under rubber feet, stickers, or a long trim strip near the hinge. Many models hide at least one fastener that is easy to miss. When this step is done, every screw you can see should be accounted for, and the cover should still sit flat. -
Remove the screws with the correct precision screwdriver bit.
Turn each screw counterclockwise with light downward pressure and stop as soon as it loosens. If one screw spins without rising, that is a sign of a captive screw or a stripped head, not a reason to pry harder. Place the screws in a tray in the same pattern they came out. -
Check for hidden screws before touching the seam.
Run a fingertip around rubber feet, labels, and any plastic inserts. Manufacturers often hide 1 or 2 fasteners there. If the cover still feels locked after the visible screws are out, do not force the seam; hidden screws are the most common reason a bottom cover will not lift. -
Insert a plastic pry tool at the widest seam, usually near a hinge corner or side edge.
Use a thin edge, not a metal knife or screwdriver. A plastic pry tool gives enough flex to start the gap without gouging the shell. When the point is right, the tool slides in a few millimeters with firm but controlled pressure rather than a sharp snap. -
Work along the edge to release clips one at a time.
Move the tool 2 to 3 centimeters at a time and twist gently until you hear or feel a click. The sound means one clip has let go. Keep the tool close to the seam so you lift the lip of the bottom cover, not the board or a fragile internal frame. -
Switch to a spudger for stubborn sections.
A spudger helps when the edge has tight tabs or a deeper latch. Slide it in shallowly and use it to widen the gap just enough for the next clip to release. If a section needs heavy force, stop and look again for one missed screw or a hidden latch. -
Lift the cover straight up only after every side is free.
Raise it slowly and watch for anything still attached. If the cover rises and then stops abruptly, a clip or cable is still engaged. The right result is a cover that comes free with no bending at the corners and no white stress marks in the plastic.
Where to pry so the case opens cleanly
The safest pry point is usually the seam with the most flex, not the thinnest-looking corner. On many laptops that is the side edge near the center, or the rear edge a few centimeters away from the hinge. Hinge corners are often a poor place to start because the plastic can be reinforced there and the clips can be tighter.
A good pry point gives you a shallow gap, a firm edge, and enough room for a plastic pry tool to enter without scraping. A bad pry point is the first place that seems convenient, which is often where decorative trim, antenna routing, or display support makes the shell harder to separate. If the seam feels glued shut, do not assume adhesive; many machines are simply held by compression clips that release only after the right screw is removed.
Work the pry tool flat against the seam. Do not angle it downward toward the motherboard. The edge of the case is the part you want to separate, not the structure beneath it. If the tool dives too deep, it can hit a ribbon cable, puncture a speaker lead, or scar the board shield.
When a model uses a tight perimeter fit, one short side may pop loose first while the opposite side stays locked. That is normal. Keep moving around the edge rather than trying to lever the whole cover up from one point. A single clip can resist while the others are already open, and that is where cracked plastic usually starts.
If the laptop has a removable service door or a two-piece bottom shell, open the smaller access panel first if the design calls for it. Some machines hide the main seam under that panel. Forcing the larger cover before the service door is out can bend both pieces and leave a permanent gap.
How to protect cables and the motherboard while the cover is off
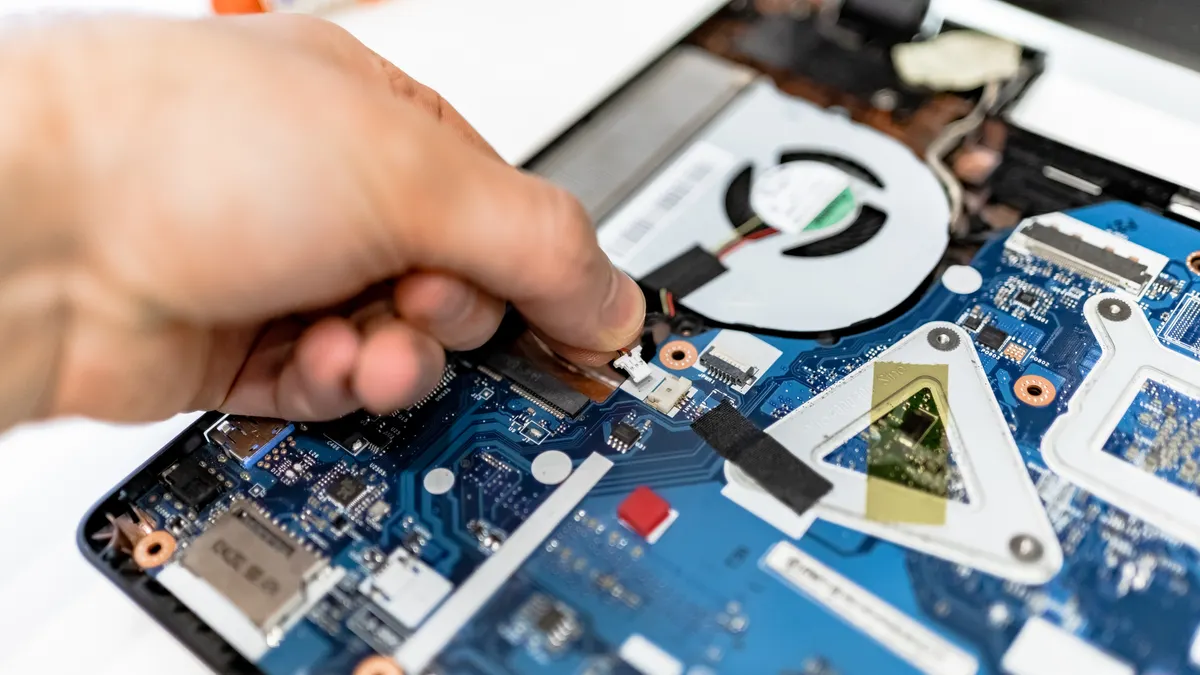
Protect cables and the motherboard by lifting slowly, watching for ribbon cables near the edge, and never using a metal tool to hook anything under the cover. The motherboard is easiest to damage the moment the shell separates because a short cable can still connect the two halves.
Once the cover is loose, pause and look before you lift it away. Many laptops place a ribbon cable for the power button, fingerprint reader, keyboard, or touchpad near the front edge. A ribbon cable usually sits in a flat connector or ZIF socket, and it tears easily if the cover is pulled up at an angle.
If you see a cable, do not yank. Use a spudger to release the latch if needed, then lift the cable connector straight out in the direction the socket allows. Some latches flip up, some slide, and some use a clamp bar. If you are unsure which type you have, stop and inspect the connector shape rather than guessing.
Keep the bottom cover flat on the work surface after it comes free. Do not let it hang from a cable while you reach for the connector. That small bit of weight can rip a ribbon in a second. The same rule applies to internal wires for speakers, fans, or antennas: support the cover, then disconnect the part, not the other way around.
Because static precautions matter even on a machine that looks dead, ground yourself before touching exposed boards. Keep synthetic blankets, carpet, and loose packaging away from the work area. A small static discharge can damage components without leaving any visible mark, which makes diagnosis harder later. NIST guidance on electrostatic discharge also treats grounded handling as a basic precaution for sensitive electronics.
If you need to move the opened laptop, hold the chassis by the outer frame, not by the fan shroud, ports, or board edges. Those parts are not handles. The right result is simple: the cover comes off, the cables remain intact, and the board sits unchanged. For later work, the next step belongs in a broader laptop repair tools guide, not in the opening step itself.
Common mistakes that bend clips or strip screws
The most common mistakes are forcing the seam, using the wrong bit, and forgetting a hidden fastener. Each one costs you something different: bent clips leave the cover loose, stripped screws delay the repair, and a missed screw can crack the plastic when you pry. iFixit teardown guides repeatedly show that hidden screws and tight clips are the usual blockers, not glue.
Do not twist a pry tool like a chisel. That is how clip tabs snap off. Use controlled pressure and short movements instead. If the cover clicks open in one spot and then stops, that is normal; continue around the perimeter.
Do not use a metal flathead as a first pry tool. It can slip, mar the finish, and gouge the case. A plastic pry tool is the safer starting point because it flexes before the shell does. iFixit’s opening tools are designed around that difference.
Do not mix screw lengths when you put the machine back together. A screw that is 1 to 2 mm too long can press into a board or punch through the palmrest. Put the screws back exactly where they came from, especially on thin ultrabooks.
Do not lift the cover with your fingers alone if it resists. That often means one corner is still latched. Go back to the seam and free the remaining clip. If the cover is warped or already cracked, be gentler still; damaged plastic loses the spring that holds the clips in place.
A practical rule helps here: if the laptop has not opened after the screws are out and one full pass around the seam, stop and inspect again. Extra force is rarely the answer. Missing one hidden screw is far more common than a design that requires brute strength.
When to stop and get help instead of forcing it
Stop and get help if the cover will not release after a careful screw check, if a corner is already cracked, or if a cable is visibly trapped under the shell. That is the point where forcing the case creates a repair that costs more than the original problem.
This is especially true on thin metal laptops, tight business notebooks, and machines with unusually stiff clips. Some models are simply less forgiving than a typical 15-inch plastic shell. If the bottom cover has no obvious seam and feels bonded around the edge, it may use adhesive strips or specialty retainers that need a different approach.
I would not push past light resistance on a machine that uses a delicate ribbon cable near the front edge or a known fragile hinge area. The risk is not theoretical: a torn cable or snapped clip can turn a simple opening into a parts replacement job.
If the laptop is still under warranty, check the manufacturer’s service instructions before opening it. Some models have user-serviceable compartments, while others do not. A service manual or teardown guide for the exact model can show whether the seam starts at the rear edge, side edge, or a hidden latch near the battery bay. The model number matters more than the brand name here. Apple’s service resources, for example, are model-specific rather than generic.
For readers who want a deeper repair workflow after the cover is open, the next step belongs in the broader laptop repair tools hub rather than in this page. This page’s job is only to get the chassis open without damage.
How do I remove a laptop bottom cover safely?
Remove the screws first, then use a plastic pry tool to release the perimeter clips one by one. The safest way is to inspect for hidden fasteners under rubber feet or labels, start at a forgiving seam, and lift only after the whole edge has separated. If the cover does not move after one careful pass, assume something is still holding it. The sequence is simple: screws, seam, then cover.
What should I do if the case is stuck?
Stop and recheck for a missed screw or a latch before applying more force. A stuck case usually means one hidden fastener, a tight clip near the hinge, or a cable still attached inside. Use a spudger to widen the seam slightly, then continue around the edge in 2 to 3 cm sections instead of prying one corner hard. If the cover still does not move, set it down and inspect again.
Do I need to disconnect the battery first?
If the battery is removable from outside the laptop, disconnect it before opening the chassis. If the battery is internal, open the cover carefully and disconnect it as soon as you can reach the connector safely. That reduces the chance of an accidental short while tools or screws are moving near the board. For many models, the safest opening window is 1 careful pass, then battery disconnect.
Drafted with AI; not yet reviewed by a person.