Last updated: October 29, 2026
Key Takeaways
- Pick tools by the repair first, not by the box label.
- Match the driver to the screw head before you buy.
- Check the manual, teardown photos, or screw pattern before spending.
- Choose access, handling, or fastening tools based on the repair type.
Laptop repair tools should be chosen by screw head, laptop family, and repair job, not by a generic “electronics kit” label. The wrong bit strips fasteners fast, and the right spudger or tweezers makes a 20-minute job feel routine instead of risky. In this guide to how to choose laptop repair tools for your model and repair type, the goal is simple: buy the few tools that fit the exact laptop and task.
Start with the repair, not the toolbox
The right laptop repair tools depend on the job you are doing first. For example, a bottom-cover cleanup on a Dell XPS may need different bits from a screen swap on a MacBook Air or a hinge repair on an Acer Nitro, even though all three are “laptop repairs.” The safest way to buy is to identify the fasteners and access method for your exact model before you spend money on a kit.
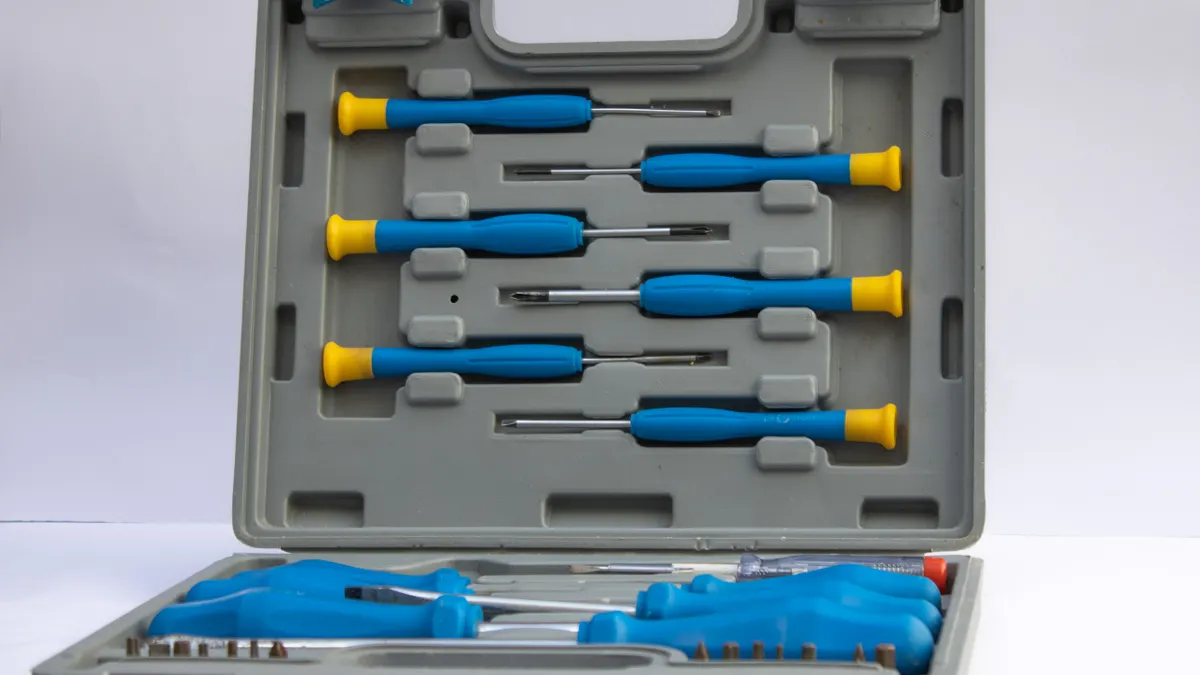
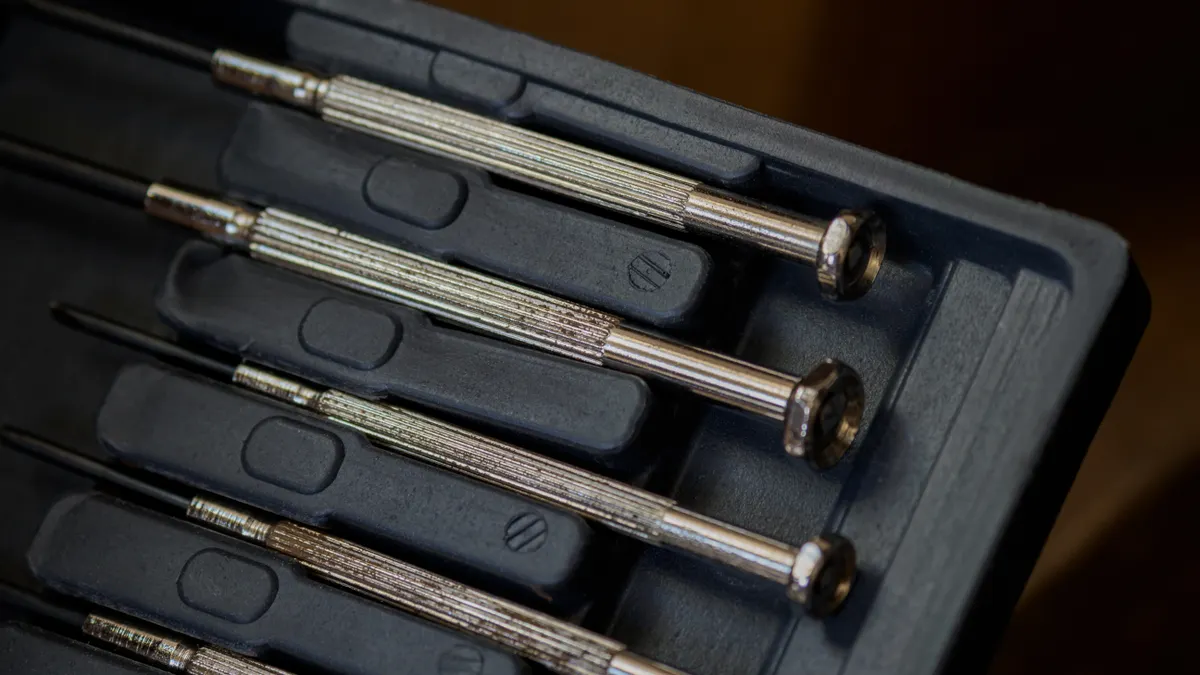
A good starting set is small: a precision phillips screwdriver, a torx screwdriver, a pentalobe screwdriver if you work on Apple machines, a plastic spudger, and precision tweezers. Those five tools cover a lot of common work, but not all of it. A Lenovo ThinkPad may use mostly phillips screws on the bottom cover and internal brackets, while a MacBook Pro often mixes pentalobe outer screws with torx inside. A generic one-size kit often includes pieces you will never use and still misses the one bit your model needs.
The question to ask is simple: what fastener does this laptop actually use, and how deep do I need to go? If you only need to remove the bottom panel, one or two driver sizes may be enough. If you are pulling a board, fans, or a display assembly, you need better tip control, better lighting, and cleaner storage for tiny screws. That is why the page to keep open alongside this one is the hub on laptop repair tools: this guide helps you choose the right tools by model and task, not by brand hype. For related basics, see the laptop repair tools hub, the laptop screw guide, and the laptop spudger guide.
One honest limit: if you do not know the exact model number, guessing from the outside is a bad bet. A 14-inch HP Pavilion and a 14-inch HP Spectre can use different screw heads and different screw lengths. Buy after identification, not before.
What screw head types does your laptop use?
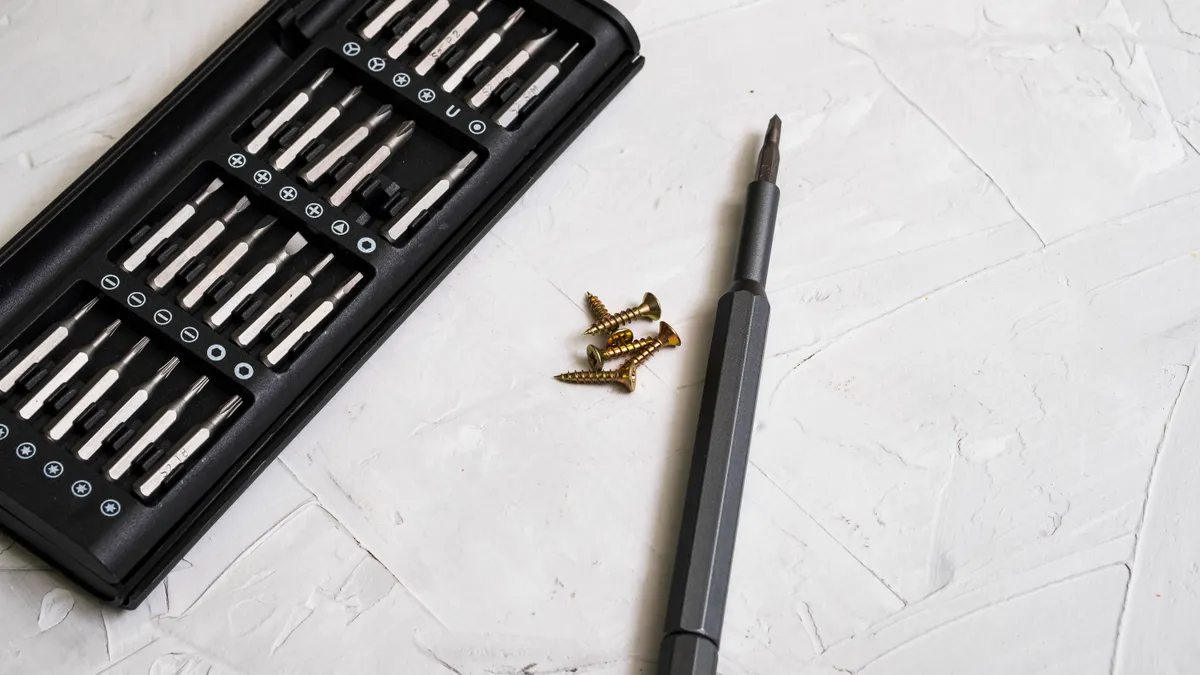
The screw head type tells you which driver to buy first. Many laptop repairs use phillips, torx, or pentalobe, and the fastest way to avoid damage is to match the bit to the head exactly.
A phillips screwdriver is still the most common starting point. Size PH0 or PH00 appears often in consumer laptops, but the exact size matters more than the label “small.” If the bit rocks in the head, it is too small or worn. If it will not seat fully, stop and look again. Do not force it; cam-out is how heads get chewed.
A torx screwdriver is common on many modern laptops because it gives better grip with less slipping. Torx sizes such as T5 and T6 are common in Apple, Dell, Lenovo, and Microsoft designs, though the exact choice depends on the model. Torx is especially useful on internal brackets and some heat sink screws. A worn torx bit can round a screw quickly, so a crisp tip matters here more than with many other fasteners. For more on driver sizing, the torx screwdriver guide and laptop fastener guide can help.
A pentalobe screwdriver is the one most people need only for Apple outer cases. If the machine is a MacBook, iPhone-style pentalobe screws are often used on the bottom cover. Buy the exact size for the model family rather than a vague “Apple” bit, because pentalobe is not one universal size.
Some laptops also use tri-point, hex, or security torx on certain subassemblies. That is why it helps to inspect the first screw before buying more tools. A 10-minute check can save a return and a stripped case.
If the screw head looks odd, photograph it under bright light and compare the shape before turning anything else. That habit is cheaper than replacing a top case.
How do I match laptop repair tools to the model?
You match laptop repair tools to the model by checking the service manual, teardown photos, or the screw pattern on the device before buying anything else. That step tells you whether you need phillips, torx, pentalobe, or a mix, and it often tells you the exact sizes too.
Use this order:
- Find the exact model number on the bottom label, BIOS screen, or original box. “HP Envy 13” is not enough; “HP Envy 13-ba” or a similar model code is better. That gets you to the right screw map.
- Look up the service manual or maintenance guide for that exact model. Manufacturers often list fastener types, screw lengths, and disassembly steps. When this works, you should see a part list or exploded view that names the cover screws and internal screws separately.
- Check two teardown photos or videos of the same model from different sources. If both show the same bit type on the outer screws, you can trust that pattern more than a single image. If they disagree, assume the model has revisions and inspect your unit directly.
- Test the first screw with the closest matching driver before buying a full set. A bit that seats flush and turns without wobble is the right candidate. If the bit lifts out, do not “make it work”; change size.
- Buy only the missing sizes and the handling tools you actually need. For example, a laptop with a clipped bottom cover may need a spudger and a suction cup, while a unit with only removable screws may not.
The point of this method is not perfection. It is avoiding wrong purchases. A Toshiba, Asus, or Acer model can share one screw type on the outside and another inside, so the laptop family gives clues but the model code decides the final buy.
One hard trade-off: model-specific accuracy takes time. If you want a tool on the same day, you may end up buying a broader precision set. That is fine for many jobs, but it is a worse choice if the laptop uses unusual fasteners and you want to avoid duplicates.
Which tools matter for the repair type?
The repair type decides whether the tool set should emphasize access, handling, or fastening. A bottom-cover job, a display repair, and a board-level repair do not need the same tool mix, even when they happen on the same machine.
For simple access work, the essentials are a phillips screwdriver, a torx screwdriver, a plastic spudger, and precision tweezers. The spudger is for prying plastic clips or lifting ribbon cable locks without gouging the chassis. The tweezers are for tiny screws, connector tabs, and adhesive pull tabs. If the bottom cover is clipped tightly, a nylon pry tool is safer than a metal blade, because the edge can mar the shell in seconds. For a deeper look at access tools, see the spudger guide and precision tweezers guide.
For internal component work, add better organization. Small screw trays, labeled containers, or a magnetic project mat help keep 2 mm and 3 mm screws in the right order. Mixing screw lengths is a common mistake on laptops because a long screw can punch into a board, a battery bay, or a display lid. The tool here is not glamorous, but it matters more than a fancy driver.
For hinge, screen, or cable work, tip control matters more than torque. A set with slim, well-machined bits and fine tweezers is usually better than a heavy kit with dozens of weak extras. Ribbon cables often use delicate latch connectors, and those need a spudger or fingernail pressure, not force. If your repair involves adhesive strips, include a plastic pick and a bit of isopropyl alcohol for cleanup, but keep liquids away from exposed electronics.
For tiny fasteners under shields or fans, a magnetic tip can help, but only lightly. Strong magnets near tiny screws are useful; strong magnets near sensitive parts can be annoying. A weakly magnetic bit or a magnetic mat is usually the cleaner choice.
If the repair type is uncertain, choose for the most delicate step, not the strongest one. A tool that can remove a cover and also lift a connector is more useful than one designed only for brute force.
How do I judge tool quality before I buy?
Tool quality shows up in the fit, the finish, and the shaft control, not in the number of pieces in the box. A 15-piece precision set with accurate tips can be better than a 60-piece set full of loose bits.
Check the bit material first. S2 steel is common in decent precision bits because it holds up better than bargain-grade soft metal. Chrome vanadium can be fine in larger tools, but precision bits need tight machining more than they need a flashy alloy name. The real test is whether the tip is sharply cut and consistent from one bit to the next. A sloppy phillips tip that flares at the edges will chew a screw head even if the metal is “premium.”
Look at handle size and grip. A driver with a rotating cap helps when you need to spin a screw quickly with light pressure, while a chunkier handle may be better for stubborn fasteners. For laptops, though, oversized handles can be awkward because the screws are small and the work space is tight. A slim precision handle usually fits better under a fan shroud or beside a battery cable.
Also check shaft length. Short bits can be fine for open benches, but a deeper chassis may need a longer reach. If a screw sits under a bracket or near a heat sink, a too-short driver becomes annoying fast. A 60 mm or similar precision shaft length is often easier to use than a stubby bit when the access hole is narrow.
Avoid kits where the bit storage is loose enough for tips to rattle around. That usually means bad organization and usually poor quality control too. If the bit you need arrives blunted or the size markings are vague, return it if you can.
Who this is not for: if the job is one-time and your laptop has standard screws only, spending for a premium multi-bit set may be unnecessary. A small, accurate set can be smarter than a large one.
What should a model-specific starter set include?
A model-specific starter set should include only the fasteners and handling tools your laptop actually needs, plus one backup size for the most common screw. That keeps the drawer smaller and the chances of grabbing the wrong bit much lower.
For many laptops, the practical starter set is:
- one precision phillips screwdriver, often PH00 or PH0
- one torx screwdriver, often T5 or T6
- one pentalobe screwdriver for Apple models
- a plastic spudger
- precision tweezers
- a small screw organizer
That is the baseline, not the finish line. If your model has security torx, tri-point, or hex fasteners, add those by exact size. If the bottom panel is clip-heavy, add a guitar pick-style opening tool. If you are handling display cables, get an antistatic wrist strap if you know you are working near exposed boards on a dry surface.
The main mistake here is buying the biggest kit because it looks complete. Huge kits often hide the fact that you need only three bits and a decent spudger. The other mistake is buying tools only by laptop brand. “For MacBook,” “for Dell,” or “for Lenovo” is too broad unless the listing names the exact screw heads. A MacBook Air and a MacBook Pro from different years can diverge enough that the outer-cover bit is right and the internal one is wrong.
A smarter approach is to spend on fit, not volume. One accurate driver and one clean pry tool do more work than ten loose attachments. That is especially true when you are opening a machine with tight tolerances, like a thin ultrabook with flush screws.
For deeper reference, the laptop repair tools hub can help you compare tool types once you know your screw pattern. This article stays focused on choosing the right tools for your model and repair type.
Common mistakes that strip screws or waste money
The most common mistake is buying a generic kit before checking the laptop’s fasteners. That costs time, returns, and often a stripped screw head. The fix is to identify the model and one real screw type before spending.
Another mistake is using a nearly fitting bit. A PH00 bit in a PH000 head, or a T5 bit in a T6 recess, may seem close enough until it slips. The cost is damaged fasteners and a harder repair later. The better move is to stop, compare sizes, and try the next exact fit.
A third mistake is using metal tools where plastic is safer. A metal blade can mar soft aluminum or crack a plastic clip. That does not just look bad; it can stop the case from seating correctly. Use a spudger or nylon opening tool for prying, and reserve metal for fasteners, not seams.
A fourth mistake is ignoring screw length and layout during reassembly. Mixing a 3 mm screw into a 5 mm hole can damage the board or pinch a cable. The fix is simple: sort screws as they come out, or photograph each step on your phone and label the tray. A 5-minute habit can save a 50-minute rework.
A fifth mistake is judging tools by piece count. A 32-bit kit with soft tips may be worse than a 7-piece set with properly machined bits. That mistake costs repeat purchases. Buy fewer, better-matched tools and expand only when the model or repair type truly demands it.
How to choose laptop repair tools without overbuying
Choose laptop repair tools by identifying the exact model, the screw head types, and the repair you want to perform, then buy only the bits and handling tools that match those facts. If the model uses phillips and torx only, a pentalobe bit is unnecessary. If the repair never goes beyond a bottom cover, a large premium kit is overkill.
The cleanest buying rule is this: match the screw first, the repair second, and the quality third. Screw type keeps you from stripping hardware. Repair type tells you whether you need a spudger, tweezers, or only a driver. Quality decides whether the tool lasts long enough to do the job again.
If the laptop is an Apple model, pentalobe is often part of the answer. If it is a ThinkPad or many Dell and HP machines, phillips and torx may be enough.
Drafted with AI; not yet reviewed by a person.