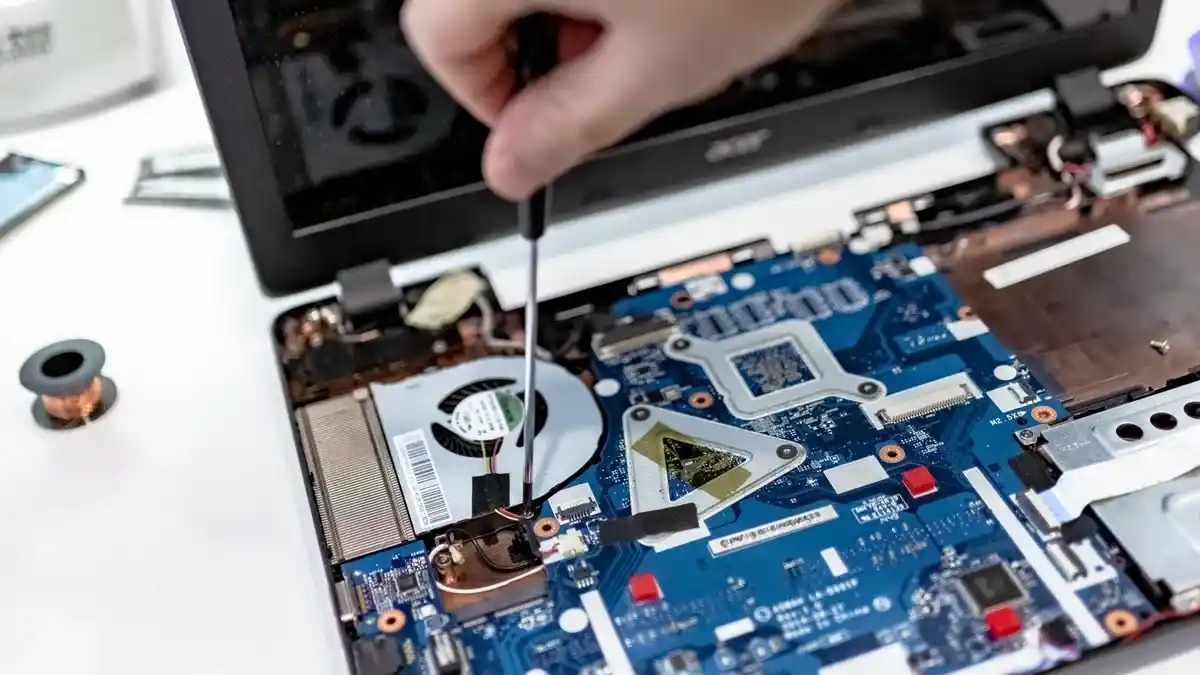
Last updated: November 05, 2026
Quick Answer: use 2 points of support
In short: brace the laptop chassis so the screw turns without the whole machine twisting, flexing, or skittering across the bench.
How to secure a laptop while removing stubborn screws starts with controlled support under the chassis, pressure from above, and a grip that keeps edges, corners, and the board area from bending while the screw breaks free. That matters on thin aluminum shells, plastic lower cases, and any chassis with a soft underside that bows when you press on it.
If a screw is stuck, the fix is not more force through the screwdriver alone. The fix is a stable bench setup, support under the chassis, and a hand position that keeps the machine from moving. If the case still flexes after you try that, consult a professional repair technician.
Secure the laptop chassis before you touch the screw
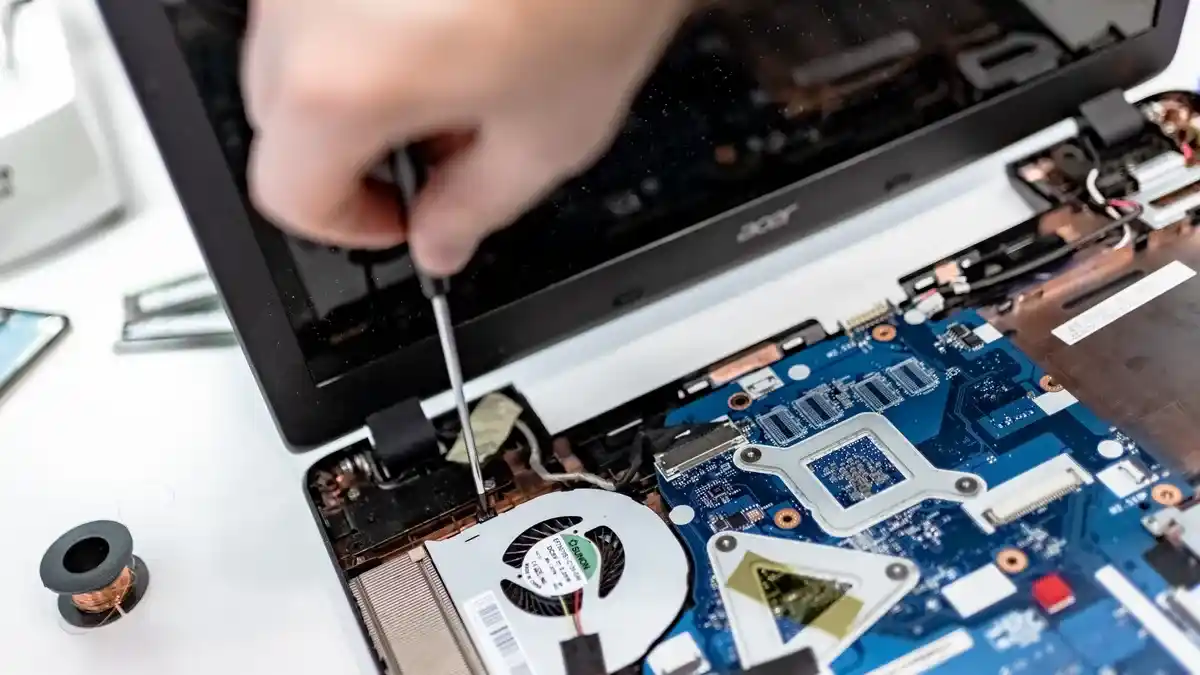
Secure the laptop chassis first with a flat bench mat, a support block, and a hand position that stops movement before you start turning. That is the part most people skip, and it is why a stubborn screw turns into a cracked corner or a flexed board.
Put the laptop on a bench mat or other non-slip surface. If the mat is slick, place a thin sheet of grippy rubber underneath the chassis. For a machine that rocks on the lid edge or rear feet, slide a support block under the low side so the base sits level. The goal is simple: all four corners should stay planted, and the shell should not teeter when you press down on the screwdriver.
Keep one hand on the chassis, not over the screw head. Pin the case near the screw location with your palm or fingertips so the machine cannot rotate. On a 13-inch or 14-inch laptop, that usually means one hand at the front edge while the other drives the tool. On a larger 15-inch or 17-inch body, add a second support point under the far side if the center sags.
Use enough downward pressure to keep the bit seated, but not so much that the base bows. If the chassis visibly flexes, stop and improve support instead of pushing harder.
For broader repair setup, this page fits the hub on laptop repair workholding and protection without repeating the rest of that topic here.
How do I stop a laptop from moving while I work?
Stop the laptop from moving by locking the chassis in place with friction, support, and a second point of contact. A rubber bench mat alone helps, but it is not enough if the screw is tight or the laptop is light.
Start with a bench mat on a stable table. If the surface is smooth, use a silicone or rubber sheet under the machine. If the laptop slides when you twist the driver, add a support block so one edge is slightly raised and the base cannot rock. A small foam block can work for light pressure, but a firmer block is better when the chassis is metal or the screw is resisting hard.
Keep your off hand on the opposite side of the case. That hand is not there to hold the driver; it is there to stop the laptop from pivoting. Place it where the shell is strongest, usually near a thick rear corner or along a reinforced edge, not on the thin center panel.
Do not clamp the lid shut and expect that to hold the machine still. The lid and hinge area can twist independently of the base, and that often makes the chassis skate anyway. If the laptop is very light or narrow, hold the base with your palm at one corner while your fingers brace the far edge.
The result you want is boring: the laptop stays in the same spot after 3 to 4 steady turns of the screwdriver. If it shifts, the setup needs more grip, not more torque.
Use soft jaws or a clamp without crushing the case
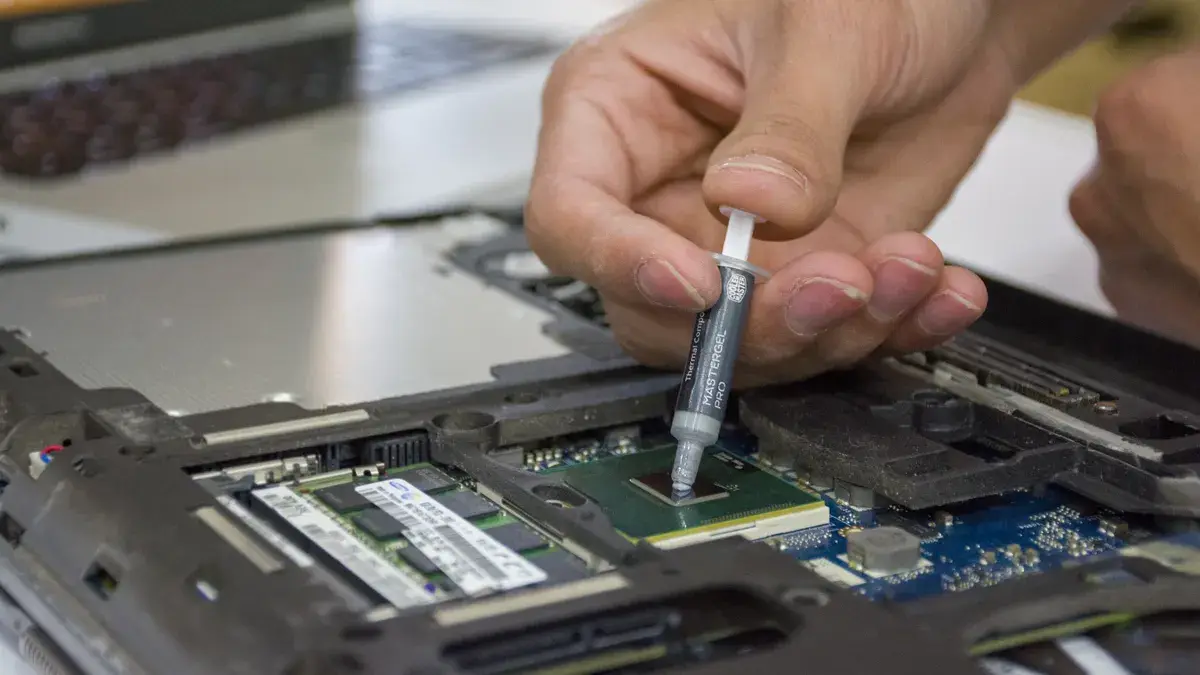
Use soft jaws or a light clamp only as a stabilizer, never as a squeeze that distorts the chassis. The right clamp pressure holds the laptop flat; the wrong pressure dents corners, distorts the frame, or presses the board area into a bow.
Soft jaws matter because hard metal jaws can mark anodized aluminum, polished plastic, or painted surfaces in one squeeze. If a clamp is part of your setup, put soft jaw pads, cork, or dense rubber between the clamp and the case. The clamp should contact a broad, solid area, not the thinnest edge of the laptop. A spring clamp is usually too aggressive for this job unless the pressure is minimal and the pads are large.
Use the clamp to prevent sliding, not to flatten the machine. A light lateral hold on the outer shell is safer than pinching down near the center. If you can see the top case bow, back off immediately. The clamp should leave the case looking unchanged when released.
A practical setup is one clamp on a padded rear corner and one support block under the opposite side. That combination can keep the chassis from yawing when a screw finally breaks loose. If the machine has sharp edges or a thin lower panel, put a soft cloth between the pad and the case to protect corners.
The trade-off is simple: clamps help, but they also require restraint. If you cannot control pressure to the point that the case stays visually flat, skip the clamp and use hand bracing only.
Prevent board flex while loosening stubborn screws
Prevent board flex by supporting the chassis close to the screw and keeping pressure off the thin center of the case. Flex is the hidden problem here, because the screw can start to turn while the board or panel beneath it bends first.
A laptop chassis often has a weaker area near the middle, especially under the keyboard deck or lower cover. When you press down on a stuck screw in that area, the force can travel through the shell and make the board area sag. The safer move is to slide a support block under the panel so the screw area has backing from below. Think of it as giving the shell a short, solid bridge instead of letting it span open air.
If the screw sits near a corner, support the adjacent edge too. If it sits near the center, support both sides of the case so the load spreads out. The goal is to reduce the amount of bending needed before the screw head turns. Even 1 to 2 millimeters of unwanted flex is enough to make the tool slip or the shell creak.
Use a driver that keeps the bit straight, then press down only as much as the chassis can tolerate. If the case flexes before the screw moves, pause and change the support. A harder support under the chassis often helps more than harder force from above.
A good sign is a clean, controlled breakaway: the screw gives with a short, sudden turn, and the case stays steady. A bad sign is the shell dipping, the driver camming, or the neighboring panel clicking.
Protect corners and edges while you hold the chassis
Protect corners and edges by placing pressure on reinforced areas and avoiding direct contact with thin plastic lips, sharp aluminum corners, or port cutouts. Those are the places that chip, crease, and deform first.
A corner looks strong, but it often hides a thin return lip or a seam line. Press there and the laptop may not move, but the edge can mark or split. Put your bracing hand on a broad surface instead, such as the outer palm area of the base, a reinforced rear strip, or a thicker side wall. If you need to use a block under the chassis, pad it so the edge does not sit directly on a hard corner.
Watch the port side carefully. USB, HDMI, and power cutouts reduce the shell’s stiffness, so the edge near them is a poor place to clamp tightly. If that side has to be supported, spread the load over a wider contact area with a padded block rather than a narrow jaw.
This also applies to the lid if it is open during the repair. Do not use the display side as a brace point. Even a small twist can transfer into the hinge or top case and make the work area less stable. Keep the lid far enough open to reach the screw, but not as a lever for the entire machine.
The right result is subtle: the corners look unchanged, the edges stay flat, and the chassis does not “oil-can” or pop under your hand.
Use your screwdriver pressure to help the support, not fight it
Use your screwdriver pressure to work with the support underneath, not to overpower it. A well-supported chassis lets the bit stay centered, which is the whole point when a screw has resisted for a few turns already.
Hold the screwdriver straight over the screw head and press down just enough to keep the bit fully seated. On a Phillips or Torx screw, the driver should feel planted, not angled. If the handle sits off-center, the screw is more likely to slip and the chassis is more likely to twist. Re-seat the bit before you add more force.
Turn in short, deliberate motions. A 1/8 turn followed by a reset is safer than a long heave that shocks the shell. If the screw starts to break free, the chassis should remain in the same position on the mat. If the laptop jumps, your support is too light or your hand placement is too far from the screw.
This is where many repairs go wrong: the person braces the laptop with one finger and leans on the screwdriver with the rest of the arm. That transfers torque into the shell instead of into the fastener. Keep the motion local. The driver turns; the laptop stays still.
If the screw is still stuck after controlled pressure, stop and reconsider the setup rather than escalating force. The goal of this page is physical stabilization of the chassis, not screw extraction methods or opening techniques. If you are unsure, consult a professional repair technician.
Common mistakes that make the laptop twist or bow
The most common mistake is holding the laptop in midair while trying to loosen the screw. That costs stability immediately, and the case flexes as soon as the screw resists. The fix is to place the chassis on a flat surface with a support block before the first turn.
Another mistake is clamping too close to the screw. That can squeeze a thin edge or force the shell into a slight bend, especially on aluminum cases. Use soft jaws and spread the pressure across a wider area instead.
A third mistake is bracing the wrong place. Pressing on the center panel, the lid, or a vented section often creates more flex than support. Move your support to a reinforced edge or use two contact points so the load spreads out.
A fourth mistake is treating a little movement as acceptable. If the chassis shifts after each turn, the setup is not secure yet. Stop, reset the bench mat, and add support. If the case still shifts, consult a professional repair technician. That extra minute is cheaper than a warped lower case.
Key Takeaways
- Keep the laptop flat and supported before you try to loosen a stubborn screw.
- Use a bench mat, a support block, and soft jaws if you need a clamp.
- Put pressure on reinforced areas, not thin corners, vent cutouts, or the lid.
- The chassis should stay still while the screwdriver turns; if it moves, the support is wrong.
- The safest setup reduces flex first and torque second, but if the chassis still flexes, consult a professional repair technician.
Sources worth checking for repair-safe handling
The best repair guidance here is mechanical, but two standards bodies are worth knowing because they frame how manufacturers think about tool contact and enclosure strength: IEC standards for equipment enclosures and ANSI/ESD S20.20 for electrostatic control during electronics work. They do not tell you exactly where to place your hand, but they support the broader habit of controlled contact and stable workholding. For repair-safe handling, also see iFixit’s laptop repair guides and the IEC 60529 overview, which are useful references for enclosure protection and careful handling.
How do I avoid flexing the motherboard when loosening screws?
Avoid flexing the motherboard by supporting the chassis near the screw, reducing downward force, and stopping before the shell bows. The board itself should never be the thing holding the laptop steady. If the base dips when you press, add a support block under that area and try again with less force.
A rigid setup is safer than a stronger grip. For additional repair context, iFixit’s laptop teardown pages are a practical reference point for how different shells and fastener layouts behave.
Drafted with AI; not yet reviewed by a person.