Last updated: November 05, 2026
Quick Answer: How to replace missing laptop screws safely usually comes down to one number first: 1 mm. A screw that is just 1 mm too long can matter in compact laptops, especially near a motherboard, battery bay, or display hinge.
Key Takeaways
- Match the missing screw to the laptop’s model, size, and location before you install anything.
- Check what the screw held and whether the laptop can stay open without it.
- The right replacement screw matches thread, diameter, and length, and it should seat smoothly.
- Start by hand, stop when it seats, and do not force the final turn.
Missing laptop screws are easy to dismiss until a bottom cover starts flexing, a hinge area lifts, or a screw disappears into the wrong hole and strips the standoff. This guide on How to replace missing laptop screws safely shows how to match the right replacement laptop screw to the right location, with the right length and thread, tightened only until it seats. In short: match the screw to the spot, test-fit it before closing the machine, and leave it out if the wrong screw would damage the chassis or board.
What you need before you start
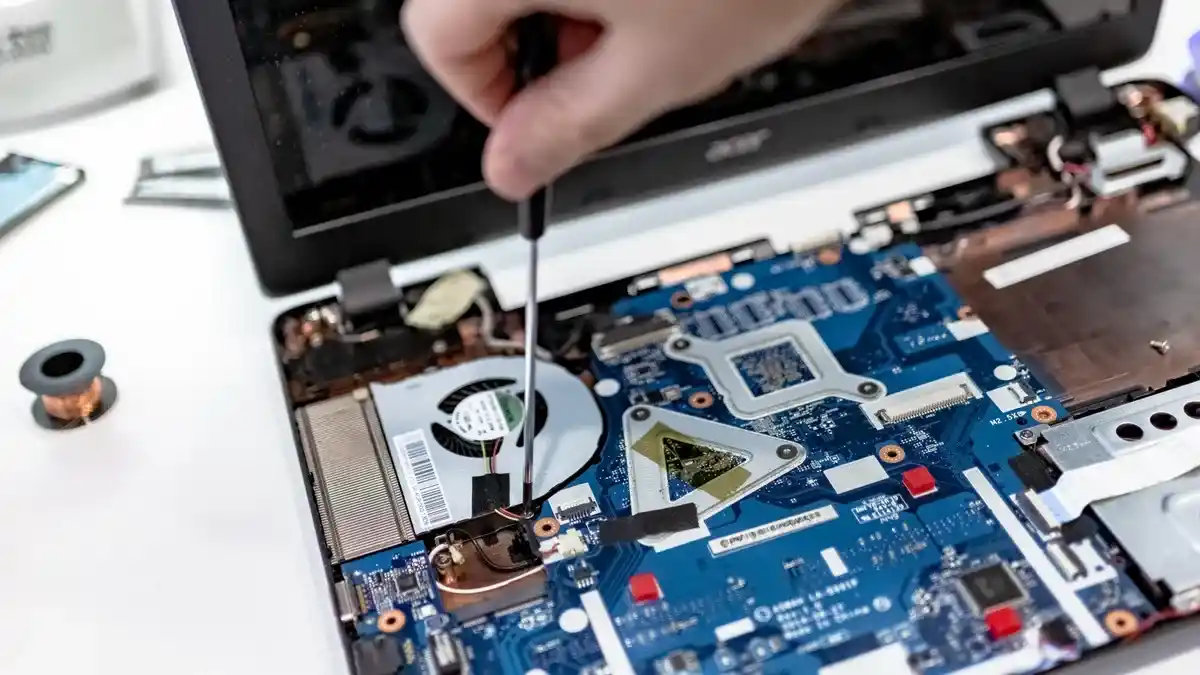
You need the laptop model, a replacement screw that matches the missing one, a way to compare size, and enough light to inspect the hole. A small tray or magnetic parts pad helps keep the rest of the screws in order. For measuring, a set of calipers and a thread gauge are the most useful tools if the original screw is gone.
A generic hardware-store screw is a bad substitute unless you have confirmed the thread, diameter, and length. Laptop fasteners are small enough that a difference of 1 mm in length can matter, especially near a motherboard, battery bay, or display hinge. If the screw is for a bottom cover, you may be working with a short M2 or M2.5 machine screw. If it secures a drive bracket, shield, or fan, the fit can differ by model even within the same brand; if you are unsure, consult a professional or a model-specific service manual before installing it.
The goal here is not to identify every laptop screw type. It is to replace one missing fastener without forcing a thread into a standoff or bottoming out against a board. That is the difference between a repair and a new problem.
If you already know the screw is missing from a cover, bracket, or shield, the laptop screw handling and fastener management hub can help with the broader system of storing and sorting the rest of the screws. For model-specific parts, a service manual or parts listing is a better match than guesswork. See also laptop battery replacement, laptop hinge repair, and laptop fan replacement.
Find the exact hole and decide whether it really needs a screw
The first step is to identify what the missing screw was holding and whether the laptop can safely stay open without it. Look at the empty hole and the surrounding area before you touch any hardware. If the hole sits in the bottom case away from heat sinks, hinges, and board edges, a missing fastener is often an inconvenience rather than an emergency. If it is next to a hinge, port bracket, or board shield, the fit matters much more.
Use the laptop model number and a clear photo of the area to compare against a parts diagram if one is available. Many service manuals show screw locations by length or color, which can save a lot of guesswork. If you do not have the screw, note whether the hole is in plastic, a metal insert, or a raised standoff. Those three surfaces behave differently. A screw that feels “close enough” in plastic can still split the case or strip a standoff.
One simple rule helps here: if the area flexes when you press near it, the screw is structural and should be replaced correctly. If the area is just a cosmetic cover and sits flat without it, you may be able to wait for the proper fastener. The wrong move is to jam in a random screw because “it fits once.” That can crack the laptop chassis or chew up the threads the next time you remove it. For more context on part layouts, see laptop motherboard replacement.
How to choose the right replacement laptop screw
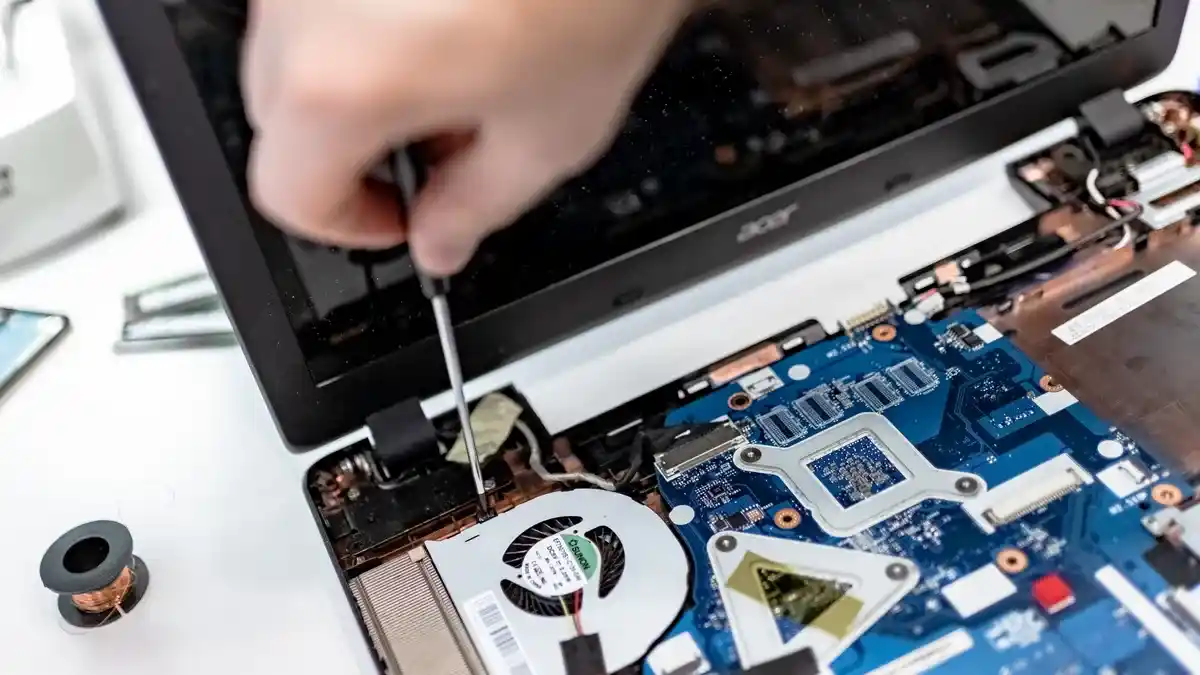
The right replacement laptop screw matches the thread, diameter, and length of the original fastener, and it seats without resistance. If the original screw is gone, compare another screw from the same laptop location, then confirm the size with calipers and a thread gauge.
Start with the easiest evidence: another screw from the same panel or bracket. Many laptops use several screws of similar appearance but different lengths. Lay the known screw next to your candidate and compare head style, shank length, and tip shape. Then measure the length from under the head to the end of the threads. For laptop screws, that measurement is usually in millimeters, and the exact head style matters because a pan head, flat head, or flange head can sit differently even when the thread is the same.
If you have calipers, measure the diameter and length to the nearest sensible fraction of a millimeter. If you have a thread gauge, confirm the pitch before buying or installing anything. A screw that is the right diameter but wrong pitch can feel like it starts, then binds. That is how threads in a standoff get ruined. If you cannot confirm the pitch, do not force the screw deeper just because the head has not fully seated yet.
A common mistake is choosing by length alone. An overlong screw can hit a board, battery pack, or optical drive cage before the head tightens. An underlong screw may hold a bottom cover loosely, but it will not clamp a hinge bracket or shield the way the original fastener did. For a bottom cover, the wrong length can leave the panel rattling. For a board mount, it can create a hidden contact point that shows up later as a cracked trace or warped case.
When possible, buy a replacement screw sold for the specific laptop model or chassis family. Generic packs can work, but only after you match size carefully. A useful source for thread standards and basic fastener terms is the ISO metric screw thread standard from the International Organization for Standardization; the standard language helps when a seller lists M2, M2.5, or pitch values instead of marketing terms. For a parts reference, a model-specific service manual is often clearer than a generic listing.
Install the screw without damaging the case or board
Install the screw by hand first, turn it only until it catches cleanly, and stop the moment it seats. Do not use a powered tool for the last turn unless you are fixing a large fastener in a non-fragile location, which most laptop screws are not.
Begin by aligning the screw straight with the hole. The head should sit centered over the opening, not angled toward one side. Turn it two or three full rotations by finger or with a small manual tool to confirm the thread is engaging. If the screw wobbles, backs out, or needs pressure to start, stop and remove it. That is the sign of a mismatch.
As it tightens, feel for a smooth rise in resistance. A correct fit usually tightens firmly without grinding. Once the head contacts the surface, give it only a final snug turn. There is no prize for force. A laptop screw is meant to clamp, not crush. If the screw is in a plastic boss or thin metal insert, over-tightening can strip the hole before the machine is even closed.
If the screw is near a board edge, speaker, fan housing, or standoff, be extra strict about length. Even then, the danger may be delayed rather than immediate. A screw that bottoms out can flex the case or push against something behind the panel, and that pressure may only show up later when the laptop warms up or the panel is removed again.
When the screw seats correctly, the panel should lie flat and the nearby surface should not bulge. That is the visible sign you want. See also how to clean laptop fans if dust or heat has made the area harder to inspect.
What to do if you do not have the exact screw yet
If you do not have a confirmed match, use a temporary replacement only when the location is low-risk and the laptop can still close flat. A temporary screw should be the same thread and no longer than the original position allows. If you cannot verify both, leave the hole empty and wait.
This is where many repairs go wrong. A screw that is “close enough” for a decorative bottom cover can become a problem in a hinge bracket, a fan shroud, or a shield over the motherboard. The hidden cost is often stripped threads in the standoff. Once that happens, the correct screw no longer holds well either. Repairing the standoff can be more work than replacing the missing screw in the first place.
If you need the laptop back together right now, compare another screw from a low-stress location and use that only as a short-term stand-in if it matches in diameter and pitch. Make sure it does not protrude beyond the original hole depth. A screw that seems to fit may still be too long by 1–2 mm, and that small difference is enough to press on internal parts in compact laptops.
Avoid filing, forcing, or trimming a screw unless you already know exactly what you are doing. Shortening a screw changes the thread lead at the tip and can make it harder to start cleanly. It is usually better to wait for the correct fastener than to modify one in a way that may damage the chassis.
Check the fit before you close the laptop
Check the fit by tightening the screw, removing it once, and inspecting both the screw and hole for damage. If the threads come back clean and the seat looks even, the fit is likely correct.
This small inspection catches the mistakes that show up later. Look for three signs: the head sits flush, the screw turns smoothly, and the surrounding material does not whiten, crack, or deform. If you see metal shavings, plastic dust, or a shiny gouge in the hole, the screw is probably cutting the wrong path. That is a warning to stop and reassess the size.
With the panel still open or loose, press gently near the screw location. The area should feel stable, not springy. If the part lifts as you press nearby, the screw may be too short or the hole may be stripped. In that case, a longer screw is not automatically the answer. The next step is to confirm the original length again, because overshooting the depth can damage a laptop chassis.
If the screw secures more than a cover, check the function it supports. A hinge bracket should move without binding. A shield should lie flat without rocking. A fan area should remain clear of contact. Those checks take less than a minute and can save a board from pressure damage. For a related step-by-step, see laptop screen replacement.
When to leave a screw out
Leave a screw out if the only alternatives are the wrong length, the wrong thread, or a fit that would stress the standoff or board. In a few locations, an empty hole is safer than a bad fastener.
This is the honest trade-off. A missing bottom-cover screw may be acceptable for a short time if the panel stays flat and the laptop is not being carried roughly. A missing hinge, board, or shield screw is different. Those screws often control alignment, grounding, or physical support. Forcing the wrong replacement can do more harm than leaving the hole empty for a day while you source the right part.
Leave it out when the screw head would not seat flush, when the screw binds before it is tight, or when the hole already feels weak. A stripped standoff will not improve because you “just tighten a little more.” It usually gets worse. If the part is critical and the hole is damaged, the real fix may be thread repair, a new bracket, or a qualified service shop.
If the laptop still closes cleanly and the area remains stable, note the missing fastener and order the proper replacement by model. That is the better move than pretending a close-enough screw is permanent. The job of a replacement screw is simple: clamp the right parts without changing their shape. When it cannot do that, it should stay out.
What a careful replacement looks like when it is done right
A correct replacement feels boring. The screw starts without pressure, tightens smoothly, and stops at the surface without drama. The panel sits flat, the gap around it stays even, and the laptop does not creak when lifted from one corner. That is the result you want.
The most useful habit is to treat screw choice as a measurement problem, not a guessing game. Match the length first, confirm the thread second, and protect the chassis third. A caliper and thread gauge are small tools, but they prevent bigger damage than any quick fix can undo. If the screw is not clearly right, pause and get the right one. In laptop repair, restraint is often the safest tool on the bench. See also laptop RAM upgrade if you are already inside the machine and planning other maintenance.
FAQ
Can I use any screw in a laptop?
No, not safely. A screw has to match the thread, diameter, and length for that specific hole, and the head style should sit correctly on the part. The wrong screw can strip a standoff, crack the chassis, or press against a board. A close visual match is not enough.
What happens if a laptop screw is too long?
A screw that is too long can bottom out against internal parts before it tightens, which may damage a board, battery area, drive cage, or case wall. The head can look seated while the tip is still pushing somewhere it should not. That is why length matters as much as thread.
How do I find the right replacement screw?
Start with the laptop model number, then compare the missing location to another screw from the same panel or bracket. Use calipers to measure length and a thread gauge to confirm pitch if the original is gone. If possible, check a service manual or a model-specific parts listing before installing anything.
Drafted with AI; not yet reviewed by a person.