Last updated: November 05, 2026
In short, how to protect a laptop motherboard from ESD during repair means turning the machine fully off, disconnecting stored power, grounding yourself to the board’s same reference point, and handling the board only by its edges. That is the whole job. A $10 wrist strap helps, but the real protection comes from keeping the motherboard, your hands, and your work surface at the same electrical potential before you touch anything.
Key Takeaways
- A motherboard is most exposed when it is out of the chassis, partly unbolted, or sitting on an insulating desk.
- Set up the workspace first, because the procedure breaks down if the board arrives before the tools.
- Ground yourself to the same reference as the board before you lift it, and keep that connection until reassembly.
- Handle the motherboard like a thin circuit assembly, not like a chunk of metal.
What you need before you touch the motherboard
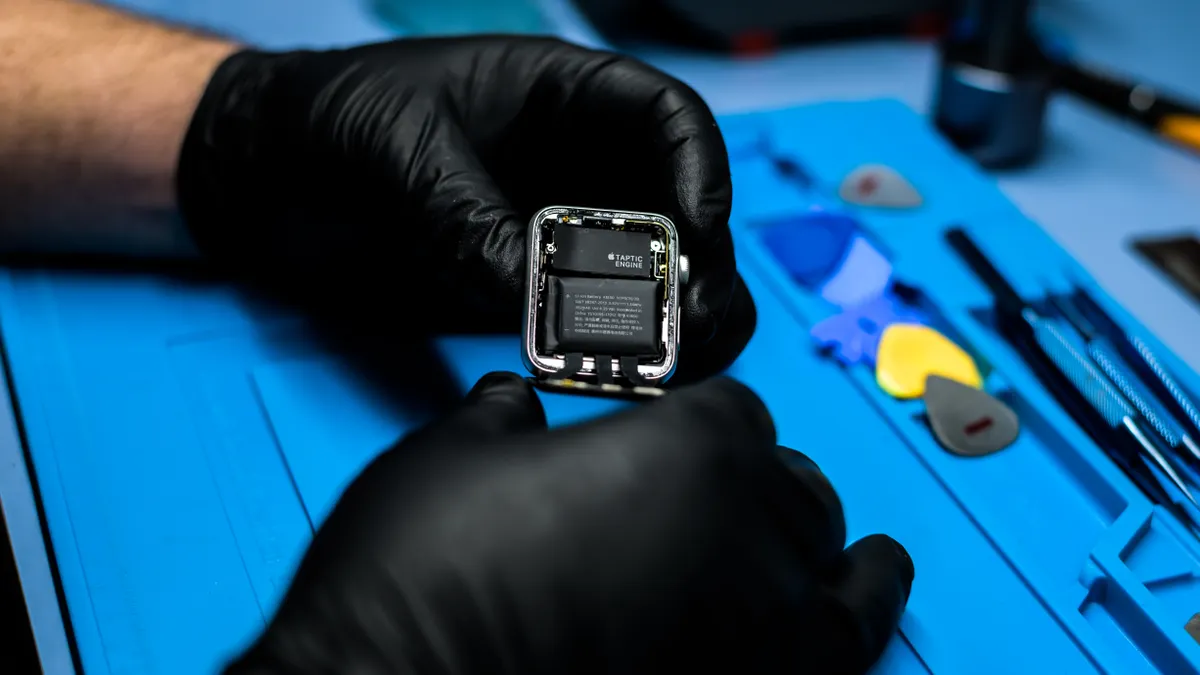
Before you start, you need an ESD wrist strap, an ESD mat, a reliable ground point, and enough time to let the laptop sit unplugged with its battery disconnected. How to protect a laptop motherboard from ESD during repair starts with that setup. A motherboard is most exposed when it is out of the chassis, partly unbolted, or sitting on an insulating desk. A bare wooden table is not the enemy; the problem is random charge on your body, clothing, tools, and the board itself.
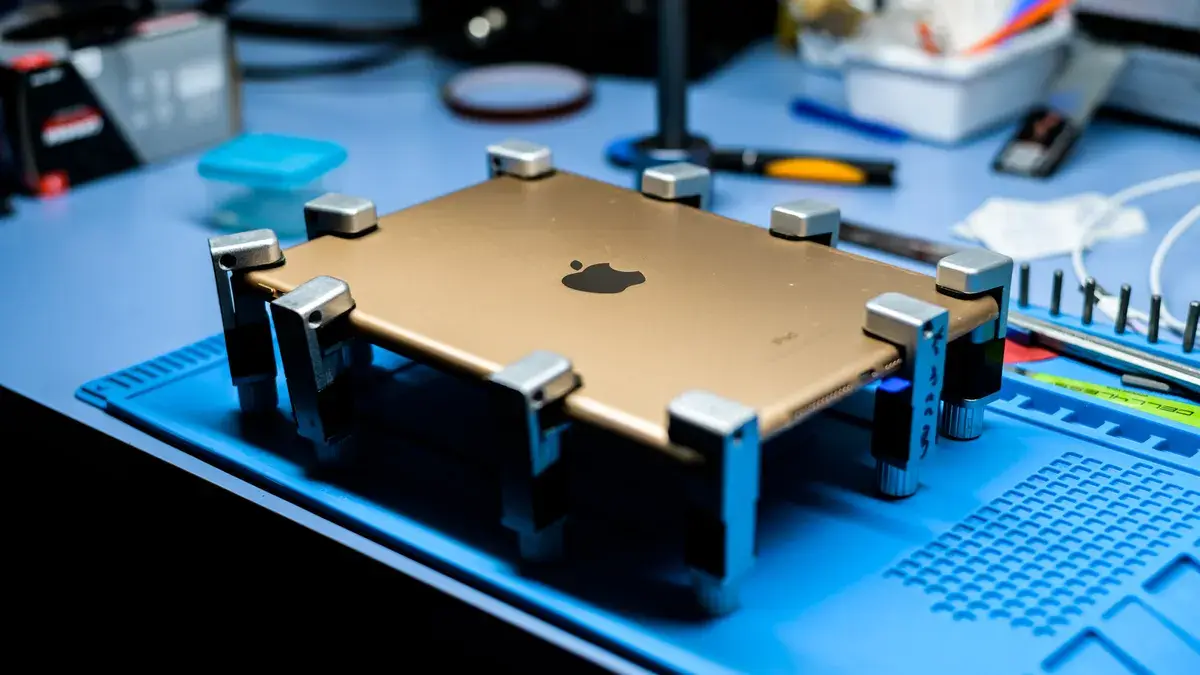
Set up a clean surface about the size of a 17-inch laptop lid. If you have an ESD mat, place it flat and connect its ground lead to the same ground point you will use for the wrist strap. If you do not have a mat, use a plain, dry, non-carpeted surface and keep the motherboard on the anti-static bag only when it is already fully removed and disconnected. Do not place the board on the bag’s silver outside layer; that layer can conduct.
You also need time for discharge. After shutdown, leave the laptop unplugged for at least 30 seconds before you open it, and longer if the model has a removable main battery. If the battery is internal, disconnect it as soon as the bottom cover is off and before you touch the motherboard. That order matters more than people think.
A useful source for the general concept of ESD control is the ANSI/ESD S20.20 standard from the ESD Association, which covers grounded work surfaces, wrist straps, and controlled handling practices. For a practical overview of safe workplace grounding, the Occupational Safety and Health Administration also explains static control in its electrical safety guidance. Those references are not laptop-specific, but they support the same basic method.
How to set up your workspace so the motherboard stays protected
How to protect a laptop motherboard from ESD during repair also depends on the workspace, because a good procedure falls apart if the board is already on the desk while you hunt for tools. Put the ESD mat down, clip its lead to a known ground point, and check that the lead is actually connected before the motherboard comes out. The ground point should be the grounded pin on a proper ESD station, or another verified earth ground in the shop.
Next, wear the ESD wrist strap on bare skin, not over a sleeve. Adjust it so the metal contact sits snugly against the wrist. Then clip the cord to the mat or the same ground point used by the mat. When the strap is working, you should feel nothing dramatic; the sign is continuity, not a sensation. Many straps include a resistor in the lead, commonly 1 megohm, which is there to limit current if a fault occurs.
Now clear the area. Put drinks at least a full arm’s reach away. Remove plastic packaging, wool cloths, and anything that sheds lint or builds static. Keep the room humidity comfortable rather than dry if you can; a very dry room is where static gets annoying fast. You do not need a lab. You do need to stop rubbing fleece sleeves against the board.
A common mistake is to ground the mat and skip the wrist strap. That can still leave you charged when you lean across the laptop or move a small daughterboard. Another mistake is clipping the strap to the laptop’s metal frame after the machine has power applied. That is not a safe shortcut. Use a proper ground point from the start, and keep the laptop unpowered.
How do I ground myself before handling the motherboard?
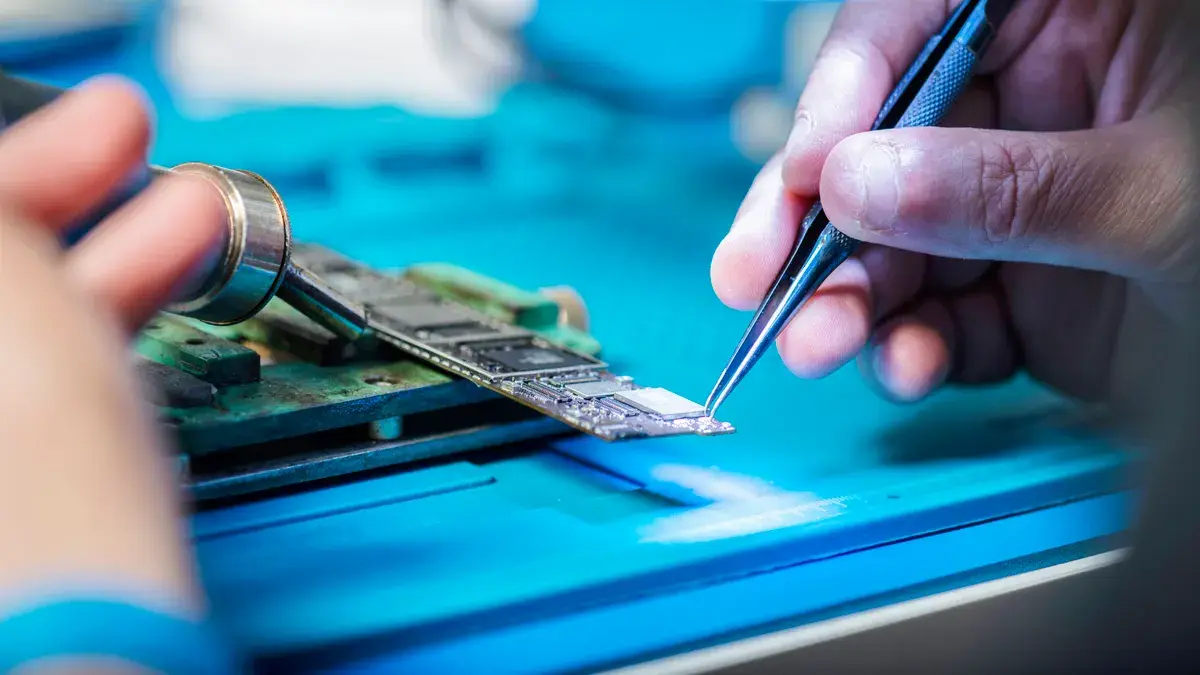
Ground yourself to the same reference as the board before you lift it, and keep that connection until the board is back in place. That means the wrist strap is on, clipped to the grounded mat or ground point, and you are not swapping it from one object to another while the board is exposed. If the strap lead is too short, move the workspace; do not stretch across the room.
The right sequence is simple:
-
Shut the laptop down completely.
Do not sleep it or hibernate it. Wait until all LEDs are off and the fan has stopped. If the machine has been running, give it about 30 seconds after shutdown before you disconnect anything. When this worked, the screen is black, there is no fan noise, and no indicator light stays active. -
Unplug the charger and remove external devices.
Take out USB drives, HDMI cables, and SD cards. You do not want a cable to tug the chassis while you are opening it. If the charger LED goes dark, you know the external power path is gone. -
Disconnect the main battery as soon as the cover is off.
On an internal-battery laptop, unplug the battery connector from the motherboard before you touch a shield, fan lead, or ribbon cable near it. If the model has a removable pack, take it out first. The board is safer when no stored battery power is present. -
Clip the wrist strap to the same ground point as the mat.
Do this before the board comes free. The strap should stay on your wrist while you handle the motherboard. If the mat has a banana jack or snap, use it. If you use a bench ground, make sure it is verified, not guessed. -
Touch only grounded metal or the board edges.
Once grounded, pick up the motherboard by the corners or the thick edges. You should see the board stay still in your hand without flexing in the middle. If you instinctively reach for chips or connector pins, pause and reset your grip.
The point of grounding is not to make the board “shock-proof.” It is to remove the voltage difference between you and the motherboard. That reduces the chance of a sudden discharge through tiny components, especially around memory sockets, USB controller areas, and power-management sections.
Safe board handling during the repair
Handle the motherboard like a thin circuit assembly, not like a chunk of metal. Support it with two hands, keep it flat, and lift it by the edges. Avoid dragging it across the mat. Even on an ESD-safe surface, sliding the board can put mechanical stress on solder joints, ports, and connector tabs.
When you move the board, place it on the ESD mat or on the anti-static foam it came with, if that foam is the conductive type used for shipping electronics. Do not set it on carpet, paper towels, bubble wrap, or the silver side of an anti-static bag. Paper is not automatically dangerous, but it can build charge if you rub it around. Bubble wrap is worse because it is made to trap air and can hold static.
Keep metal tools controlled. A screwdriver that has been brushed across clothing can carry charge, and if it slips into a connector it can damage more than the tip of the board. A good habit is to set tools on the mat, not on the laptop shell, and to avoid passing a tool directly over exposed ICs. If you need to test fit a screw, move slowly and keep your free hand grounded.
Watch the flex. A laptop motherboard is dense, but it is still a fiberglass board with solder joints and fine-pitch parts. If you bow it while removing a heatsink or separator shield, you are creating a mechanical risk that often gets blamed on “static” later. Use the correct screw order, loosen heatsink screws in a cross pattern when applicable, and support the board so it does not twist.
This is also the point where the hub topic matters: if you are building a proper repair station, the broader guide to laptop repair workholding and protection should sit beside this page, because ESD control works best when the board is stable and the surface is already prepared.
Where to unplug and wait before board work
Unplug and wait at the points where stored power can stay on the board after the charger is out. Start with the AC adapter, then disconnect the battery, then hold the power button for about 10 to 15 seconds if the service path for that model allows it. That sequence helps clear residual charge in the power rails before you reach the motherboard.
If the laptop uses a removable main battery, remove it first after shutdown and before opening the lower cover if the design allows it. If the battery is internal, open the bottom cover, then disconnect the battery cable from the motherboard before touching anything else. Some models also have a small coin-cell or RTC backup battery; if you must unplug that for service, note its connector orientation first so you do not reverse it later.
Waiting matters because stored charge can sit in capacitors even after the charger is gone. You do not need to guess at the exact discharge time for every model. A short wait and a confirmed disconnect are enough for normal repair work. What you should not do is open the machine, touch the board, and assume the power path vanished just because the charging light went out.
A mistake here can cost you a board that powers oddly later: a fan that stutters, a keyboard rail that behaves unpredictably, or a machine that will not complete startup until you reseat connectors. The safer move is boring: unplug, wait, disconnect the battery, and verify the board is dead before handling it.
Common ESD mistakes that cost boards
The biggest ESD mistake is treating “I did not feel a shock” as proof of safety. You can discharge at a level you never notice and still stress sensitive parts. A motherboard does not need a dramatic snap to suffer. The better habit is to assume invisible charge is the problem and use controlled grounding every time. For professional guidance, the ESD Association’s ANSI/ESD S20.20 standard and OSHA’s static-control guidance both point to grounded surfaces and wrist straps as basic controls.
Another mistake is working on the bed, couch, or carpet because the laptop is small and the job looks quick. Soft surfaces build charge and encourage awkward wrist angles. A table with an ESD mat is the right answer. If you have no mat, a plain hard surface is still better than fabric-covered furniture, as long as you stay grounded and keep the board off plastic clutter.
A third mistake is touching connectors and chip legs while moving quickly between screws. The cost is bent pins, torn ribbon tabs, and unnecessary rework that gets blamed on the board. Use the edge-grip habit: lift by the sides, rest the board only on safe surfaces, and pause before each connector. If you need to unplug a ribbon, use the latch properly rather than tugging on the cable.
Do not forget the battery. Many repairs go wrong because the technician removes the board screws while the battery is still connected. That can leave live sections on the motherboard even though the laptop looks dead. Disconnecting the battery early is one of the simplest protections on the page, and it is the one most often skipped.
What this protects, and what it does not
ESD control protects against avoidable electrical stress while you repair the motherboard, but it does not fix a board that is already damaged, corroded, or shorted by liquid. If you see burnt spots, green corrosion, or liquid residue, grounding habits still matter, yet the board may need deeper diagnostics. Static control is a prevention step, not a cure, and if the fault looks beyond a basic repair, consult a professional.
This method is also not a substitute for the right repair plan. If the board has a swollen battery nearby, a cracked connector, or liquid damage around the power section, the job may stop being a simple bench repair. In those cases, pausing and handing the work to a qualified laptop technician is a reasonable choice because the board may need isolation, measurement, or board-level diagnosis that goes beyond a standard ESD routine. A motherboard that has already been compromised can fail for reasons that look like ESD but are not.
The upside is that the basics are not complicated: power down, unplug, disconnect the battery, ground yourself, work on an ESD mat, and touch the motherboard only by its edges. That routine is enough for most board-level laptop repair work and is the standard I would keep even for a 15-inch ultrabook board with very small connectors.
Do I need an anti-static wrist strap for laptop repair?
Yes, an anti-static wrist strap is the simplest practical way to keep your body at the same potential as the laptop motherboard. It is not the only control, but it is the most direct one when the board is exposed. If you skip it, you rely on luck and on surface conditions, which is a poor trade for a board-level repair.
Can static electricity damage a laptop motherboard?
Yes, static electricity can damage a laptop motherboard or weaken parts in ways that show up later as flaky behavior. The risk is highest when the board is out of the chassis and you touch connectors, chips, or power areas without grounding. You may not feel the discharge, which is why controlled handling matters more than guessing.
What is the safest surface to repair a laptop on?
A grounded ESD mat on a flat table is the safest practical surface for laptop motherboard work. A bare hard table is the next best option if you are grounded and keep the board off plastic, carpet, and bedding. Avoid soft furniture, which encourages static buildup and makes it easier to flex the board while you work.
Drafted with AI; not yet reviewed by a person.